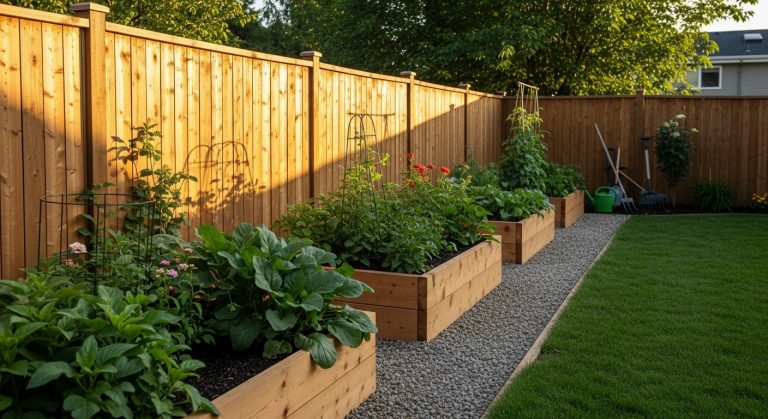
Pollinator Garden Layout: 15 Clever Ways to Design an Insect-Friendly Space
Ever stepped into a garden buzzing with life—literally—and thought, “I want that in my backyard”? Same here. I remember my first attempt at creating a “pollinator garden layout” felt a bit chaotic: too many flowers, random placement, and surprisingly few bees. But once I slowed down and treated it like a design project instead of just planting willy-nilly, everything changed. Now it’s truly one of my favourite parts of the yard.
Why bother? Because pollinators (bees, butterflies, hoverflies, etc.) don’t just make gardens pretty—they’re essential for ecosystems, food production and biodiversity. For example, pollinators contribute an estimated $34 billion annually to the U.S. economy by improving crop quantity and quality by U.S. Fish and Wildlife Service Also, research shows that even small gardens with well-designed plants can boost pollinator abundance.
So whether you’ve got a sprawling yard, a modest patio or a balcony, I’m going to walk you through 15 detailed layout ideas for a pollinator garden layout that’s not only functional—but joyful and full of character. Let’s chat like two garden-obsessed friends, plan-in-hand.
1. Meandering Flower-Rich Border
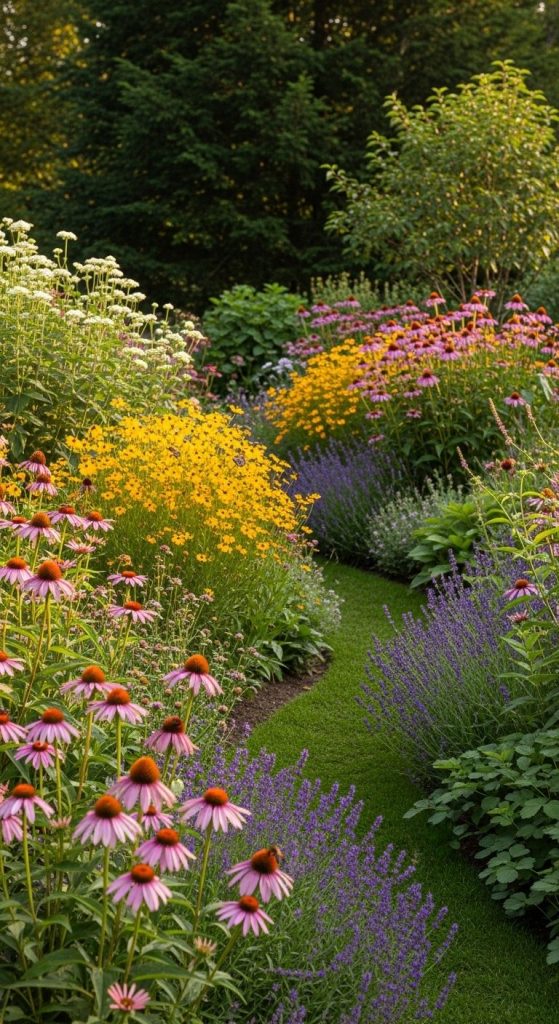
Picture a wide edge along your garden with high-impact blooms, tidal swells of colour, and pollinators dancing. One of the easiest ways to start a strong pollinator garden layout is with a border that curves gently—rather than a straight line—and invites movement.
Pros:
- Adds rhythm and movement visually; pollinators follow these blooms.
- Allows layered planting: tall back plants (e.g., shrubs), medium mid-plants, low ground-creepers = varied nectar sources.
- Encourages insect traffic through your garden instead of dead zones.
Cons:
- Can look “wild” or un-designed if you don’t keep it somewhat maintained.
- If you only plant for showy flowers, you might miss out on less flashy plants that offer real value to pollinators.
Takeaway: A curved, flower-rich border gives your layout structure and life—treat it like the edge of a stage where the pollinators perform.
2. Clustered Planting Patches (“Buffets”)
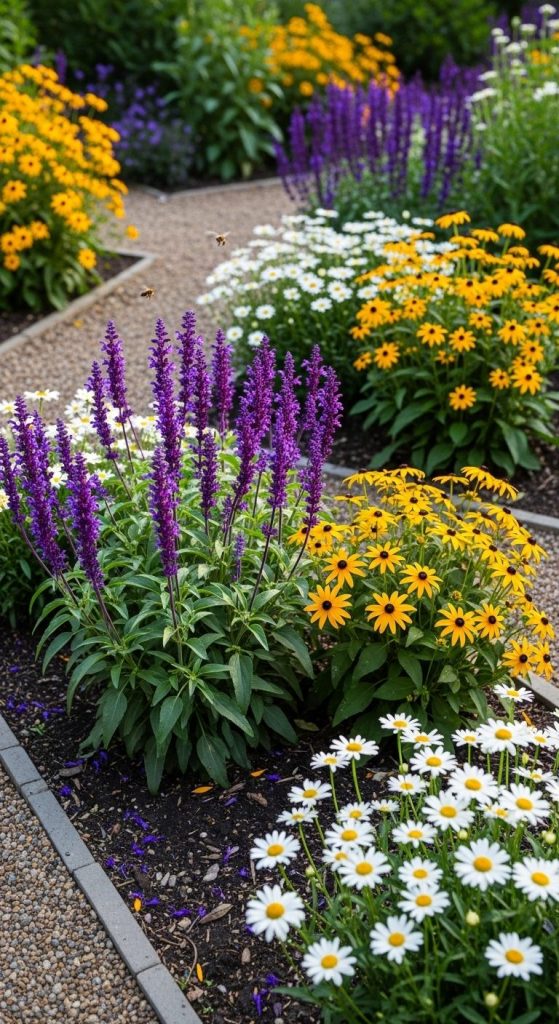
Ever noticed how bees don’t bounce all over the place—they tend to linger where flowers are grouped? That’s why in a strong pollinator garden layout you will plant in clusters: three, five, seven of the same species together, not one lonely plant here and there.
Pros:
- Makes flowers more visible to pollinators and reduces energy for them to find food. Research shows plant species richness and sunlight exposure increase visitation rates of solitary bees.
- Easier maintenance: you water and weed a patch instead of scattered plants.
- Visually cohesive—clusters of same-colour or same-form look intentional.
Cons:
- If you over-clump just one species, you risk pests or diseases targeting that patch.
- It might require more initial space than “one plant every here and there” if your site is small.
Takeaway: In your pollinator garden layout, think buffet, not single snack. Group plants deliberately to make your space more pollinator-friendly and beautiful.
3. Seasonal Staggered Blooming Zones
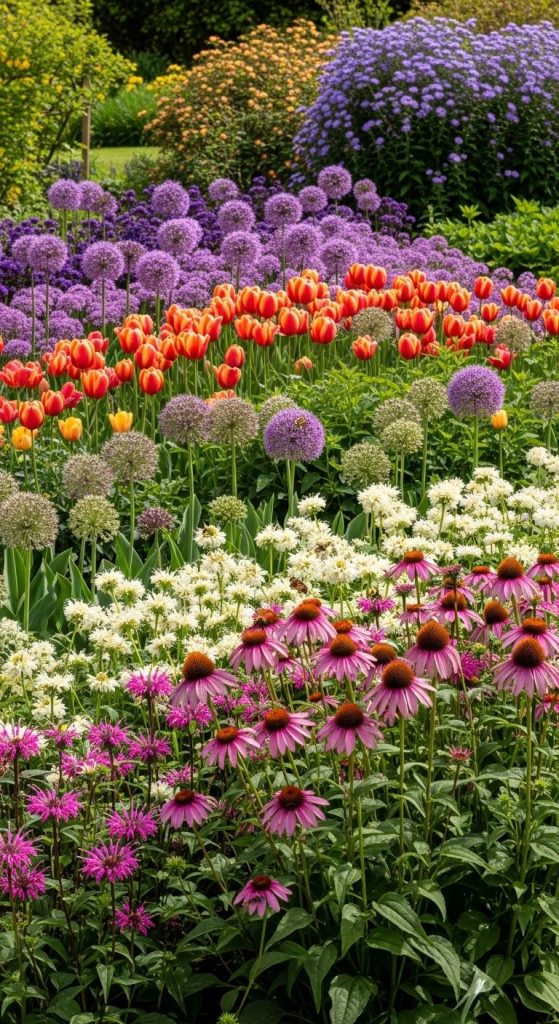
A layout that only blooms in June is a missed opportunity. In a solid pollinator garden layout you plan for blooms from early spring through late autumn so pollinators always have something. I did this once—my spring zone was great, but by August it looked empty and the bees left. Not again.
Pros:
- Extends the period when pollinators visit, increasing usefulness of the garden.
- Creates visual interest all season long.
- Attracts a wider variety of pollinator species (some bloom early, some late).
Cons:
- Requires more plant selection and timing consideration.
- Some late-bloom plants require more care or sit in awkward parts of your garden.
Takeaway: In your pollinator garden layout, map out a timeline. Early bloomers, mid-season powerhouses, late-season finishers—cover all the bases so your garden rarely hits a lull.
4. Native Plant Core & Exotic Accents
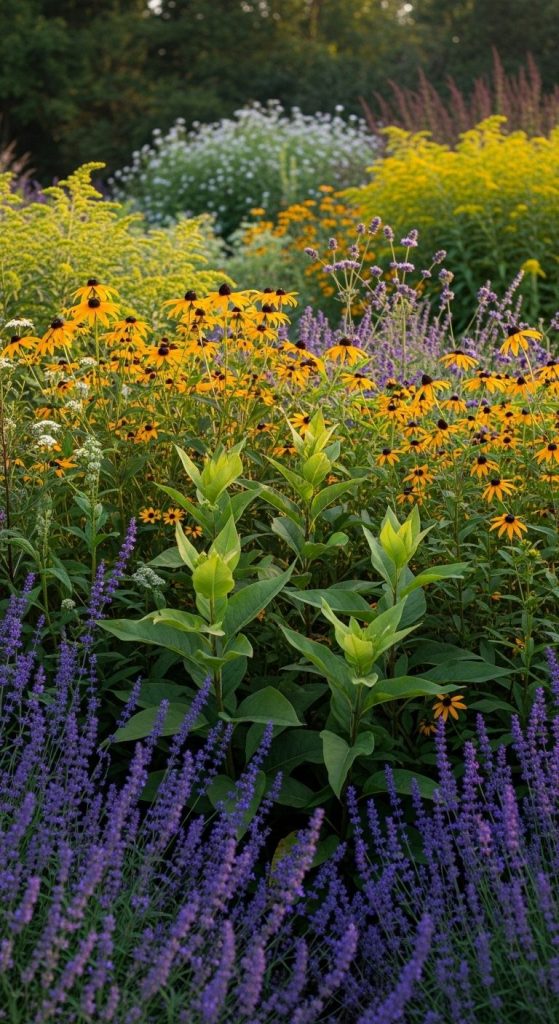
Many guides say “go 100% native” and there’s merit in that—native plants often co-evolved with native pollinators. But I’m realistic: sometimes you want colour, form or a bold accent. In my own pollinator garden layout I mix a strong native base with some exotic accent plants, keeping the natives dominant.
Pros:
- Native plants often support specialist pollinators and are well-adapted to local conditions. PMC+1
- Exotic accents add visual punch and extend flowering options.
- Balanced layout supports both biodiversity and design.
Cons:
- Exotic plants might be more maintenance or less beneficial for specialist pollinators.
- Too many exotics and you lose the ecological strength of your layout.
Takeaway: Think of your pollinator garden layout as “native foundation + curated accents”. You get ecological resilience and design flair.
5. Vertical Layers & Multi-Height Planting
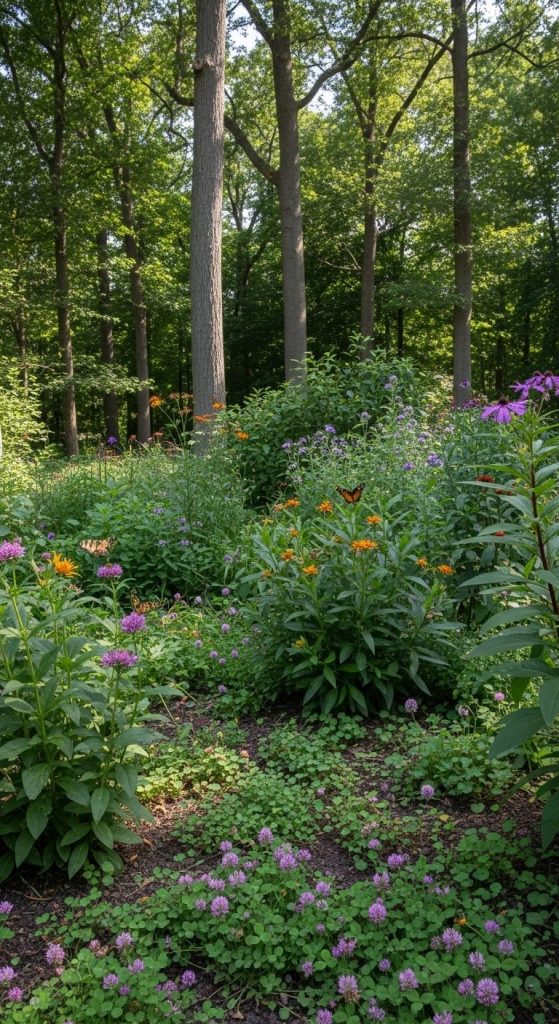
You might only think horizontal when you think garden layout. But for the best pollinator garden layout, you add vertical layers: groundcover, mid shrubs, tall native trees or woody plants. I discovered this when I added a small native shrub behind my perennials and suddenly more butterflies showed up.
Pros:
- Offers more habitat and nectar sources at different heights—beneficial since some bees prefer higher blooms. PMC
- Adds visual depth and garden structure.
- Provides shelter, nesting sites and micro-climates for insects.
Cons:
- Needs some planning: you need to ensure tall plants don’t overshadow everything.
- In smaller gardens, vertical layers can feel crowded if overdone.
Takeaway: Think upward as well as outward in your pollinator garden layout: height brings habitat, dimension and dynamic layers.
6. Pathways & Movement Zones
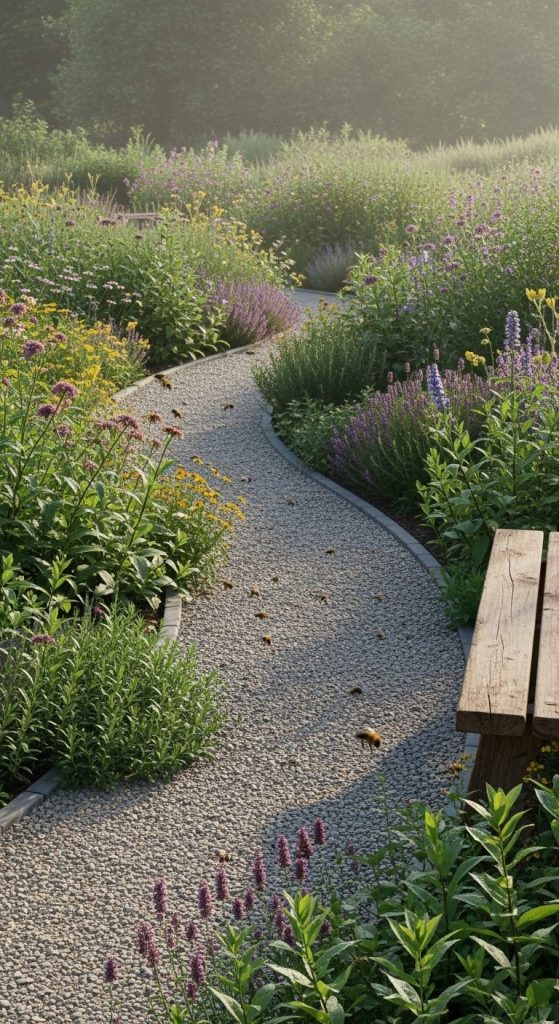
A great layout isn’t just where plants go—it’s how you move through it. If your pollinator garden layout includes meandering paths, stepping stones, or clear flows, you and your insects both benefit. I once laid a narrow gravel path through a dense pollinator bed—and suddenly the bees felt less “hidden” and more part of the garden.
Pros:
- Allows access for maintenance without trampling important plants.
- Creates visual rhythm and invites exploration.
- Gives edges and transitions—pollinators often use path edges as flight corridors.
Cons:
- Paths take space that could otherwise be planted.
- Materials (gravel, stone) might require extra budget or effort.
Takeaway: In your pollinator garden layout, integrate human and insect movement. Include paths that feel natural and support the flow of both you and your pollinator guests.
7. Open Sunny Zones vs. Sheltered Sections
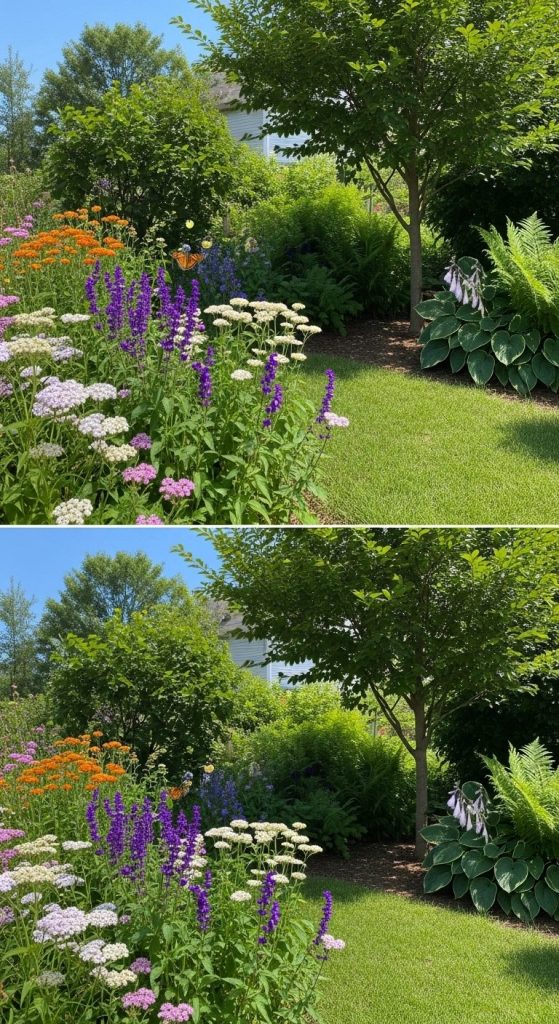
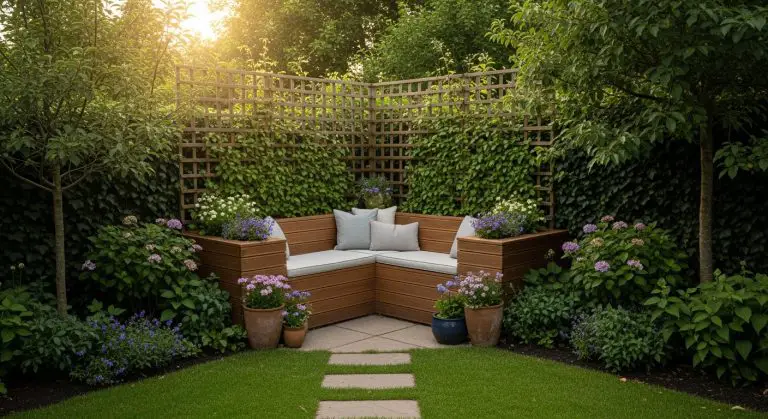
Pollinators don’t all like the same micro-environment. Some prefer full sun, others partial shade. In your pollinator garden layout you’ll want both sunny spots and more sheltered, shady ones. I found that once I added a sheltered corner under a small tree, butterflies started staying later in the day.
Pros:
- Broadens the range of species your garden can support.
- Provides relief for pollinators during extreme heat.
- Helps with plant diversity- you can plant sun-loving and shade-tolerant species.
Cons:
- Might complicate layout planning (different plants mean different needs).
- Shady zones might attract pests or need different maintenance.
Takeaway: Mix openness and shelter in your pollinator garden layout. It’s not all sun or all shade—variety supports variety.
8. Nesting & Overwintering Habitats Built In
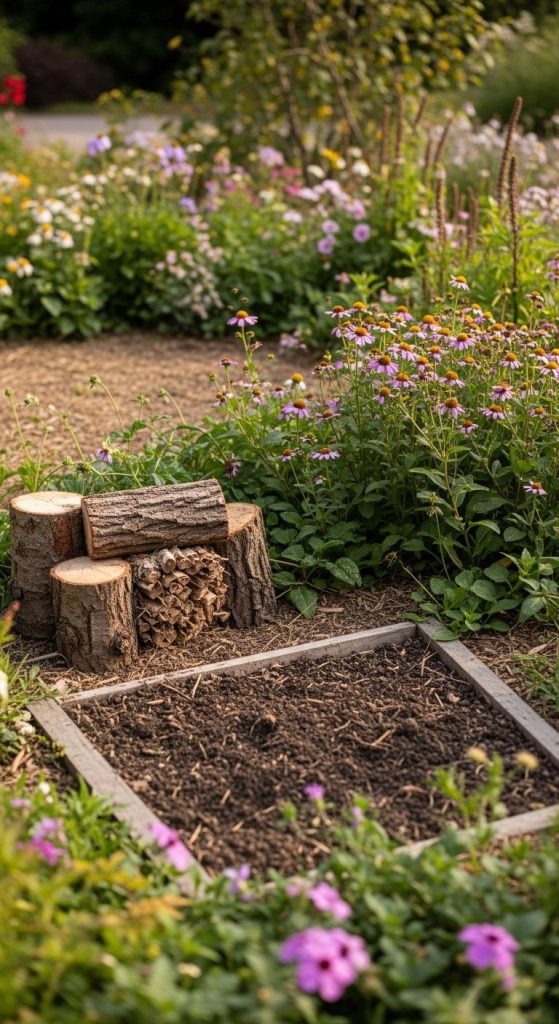
We often think “pollinators = flowers” but the layout of your garden needs to include places for insects to nest, sleep, and overwinter. In my own layout I added a small log pile and bare soil patch. It changed the nature of the space entirely—more wildlife visitors, more complexity.
Pros:
- Enhances ecological completeness: food and habitat.
- Reduces reliance on artificial bee hotels or imported structures.
- Attracts less obvious pollinators (not just bees) which improves ecosystem health. OUP Academic
Cons:
- Some people find log piles or bare soil patches “messy.”
- Requires educating yourself about safe and beneficial log-pile placement (avoid pests near house).
Takeaway: Your pollinator garden layout must include ‘home’ zones not just ‘buffet zones’. Nesting and shelter matter just as much as flowers.
9. Water & Moisture Features
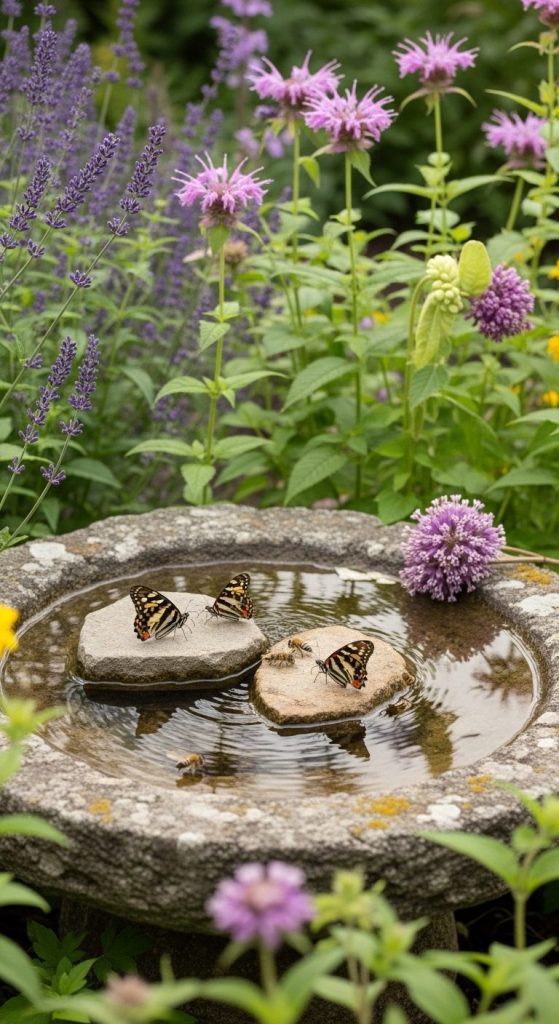
If we want pollinators to hang around, water helps—especially in dry seasons. Including a shallow water feature, damp patch or wet-rock edge gives them what they need. I added a small bird-bath with flat stones and observed bees using the stones as landing pads.
Pros:
- Meets a critical need for hydration or puddling insects (especially butterflies).
- Adds visual calm and ambient sound to the garden.
- Serves as a multi-use feature for other wildlife too.
Cons:
- Water features may require maintenance (mosquito prevention, cleaning).
- In smaller spaces you need to scale carefully to avoid dominating the layout.
Takeaway: Sprinkle in water or damp features in your pollinator garden layout—they’re not just pretty, they’re purposeful.
10. Transition Zones to Other Garden Areas
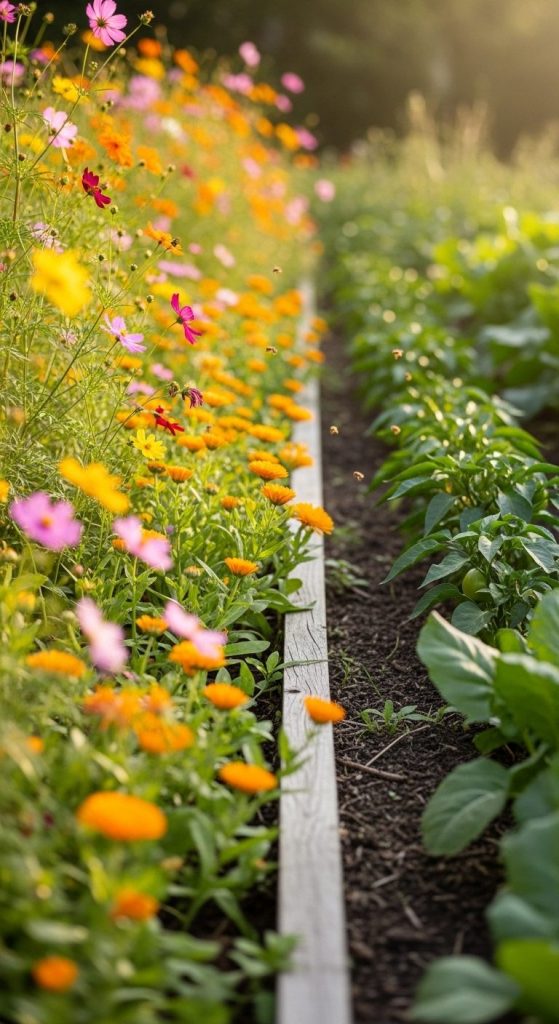
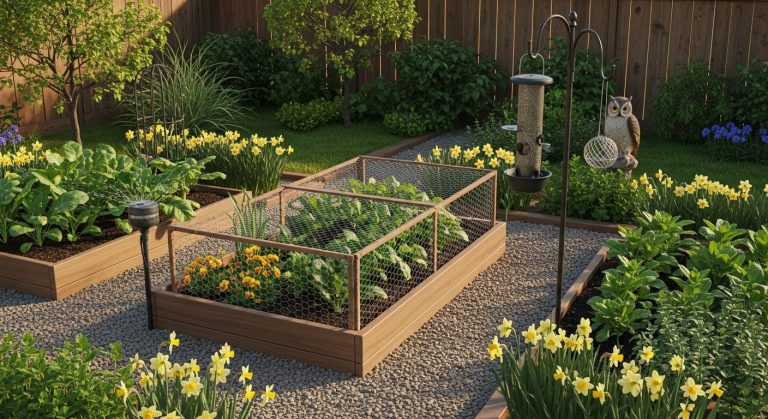
Your pollinator garden layout doesn’t have to be isolated. Integrating transition zones—edges where your pollinator bed meets lawn, vegetable garden, or patio—creates seamless flow and supports more species. I designed mine so that the veggie bed backs onto the pollinator bed. Bugs moved easily between both.
Pros:
- Encourages beneficial insects to shift from flowers to veggies (pollination & pest-control).
- Adds continuity across your garden rather than isolated “islands”.
- Visual integration—makes your layout feel cohesive not fragmented.
Cons:
- Requires coordination of different garden types (flowers, vegetables, ornamentals).
- Might demand more maintenance if you’re managing multiple zones.
Takeaway: In your pollinator garden layout, treat it as one part of the whole garden ecosystem—not a standalone fragment.
11. Edging & Border Design for Structure
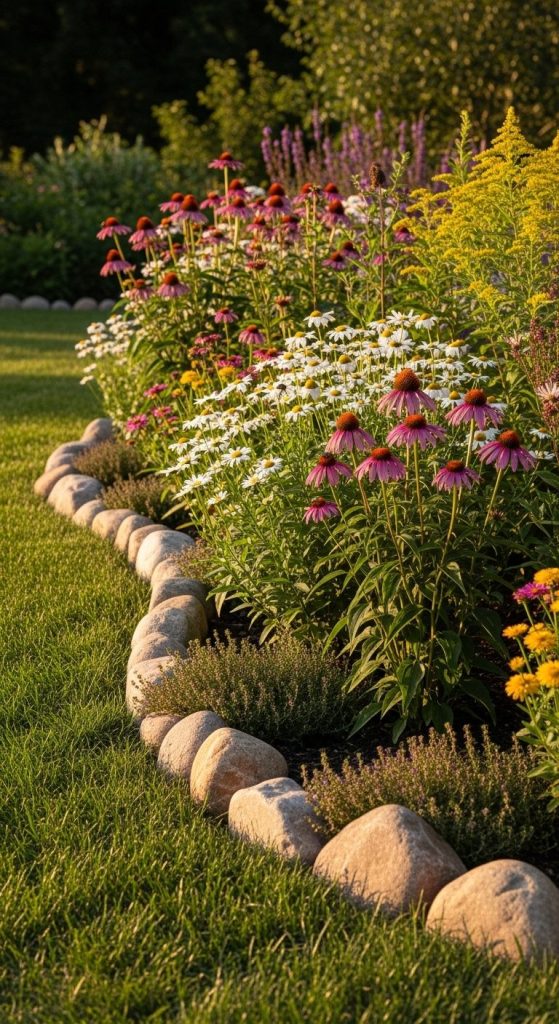
Even naturalistic layouts benefit from edges. In your pollinator garden layout, use subtle but clear borders: low stone walls, timber sleepers, edging plants. I once bordered mine with a line of wildflower turf and it instantly felt “finished”—and bees kept cruising along the edge.
Pros:
- Provides definition and keeps the layout from spilling into paths or patios.
- Helps with maintenance: easier weeding, mowing edges.
- Gives a clean visual contrast which highlights the pollinator zone.
Cons:
- If too formal, edges might look out of place in a wild garden design.
- Choosing materials can increase cost or complexity.
Takeaway: Good structure doesn’t have to mean rigid. In a pollinator garden layout, borders simply guide – they don’t cage.
12. Colour & Shape Strategy for Visual & Ecological Impact
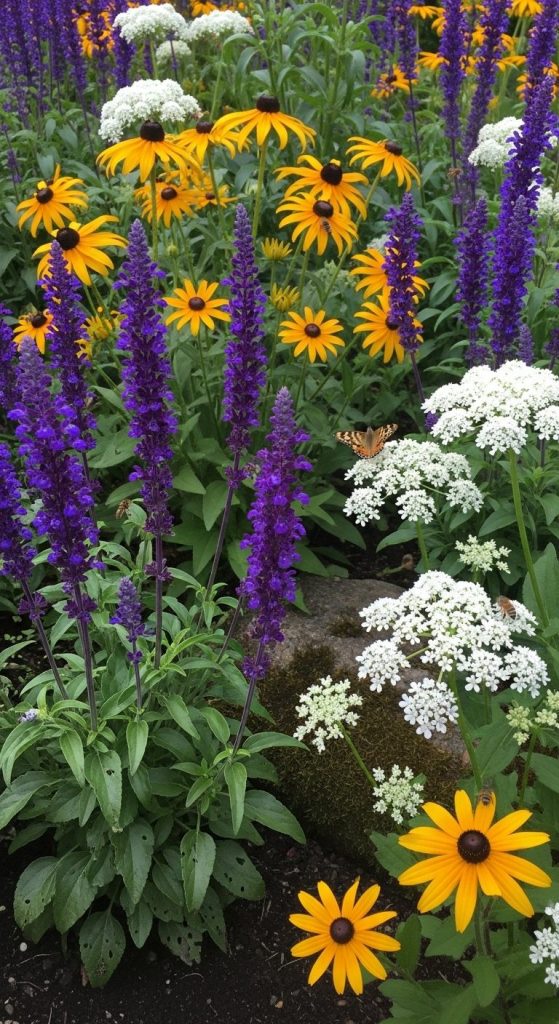
In my layout-design mindset I realized: pollinators are drawn to certain colours (like purple, yellow, white) and shapes (flat-topped umbels, tubular flowers). So I strategically placed bursts of colour and form. In your pollinator garden layout you can do this too.
Pros:
- Maximises attraction by using flower forms and colours that pollinators favour (research supports this idea).
- Adds visual rhythm and interest for humans while serving ecological function.
- Encourages a range of pollinator types (different bees, hoverflies, butterflies).
Cons:
- Could lead to over-design where you focus more on colour than on native-plant value.
- Might require replacing plants that don’t perform as well for pollinators over time.
Takeaway: Your pollinator garden layout should be beautiful and strategic. Let colour and flower shape work for you—and the bugs.
13. Grain & Scale: Macro Blocks and Micro Moments
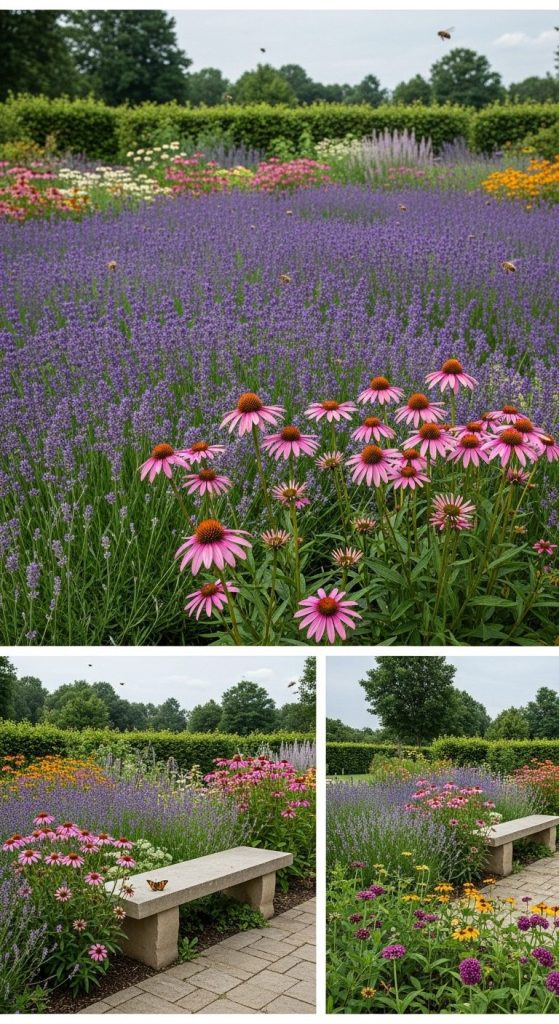
When I began scaling my pollinator garden layout, I realized I needed “big blocks” (mass planting) and “small moments” (tiny patches, solitary plants) to keep it dynamic. You’ll want big swaths of key plants and pops of detail.
Pros:
- Macro blocks (e.g., 2–4 m swathes) create high visibility and impact for pollinators.
- Micro moments (e.g., single plants near seating) invite close-up interaction and variety.
- Balanced scale makes the layout feel both grand and intimate.
Cons:
- Requires more awareness of spacing and timing for planting.
- If you only do macro blocks you might lose intimacy; only micro moments you might lose impact.
Takeaway: Design your pollinator garden layout with both big statements and gentle details—it keeps the garden alive visually and ecologically.
14. Maintenance Planning & Seasonal Adjustments
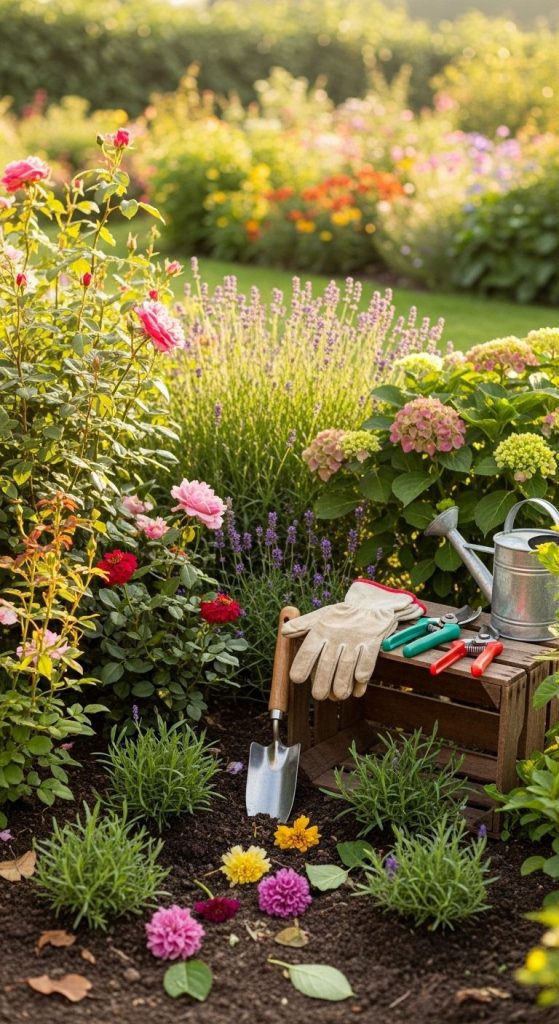
A layout isn’t just set-and-forget. Good pollinator garden layouts anticipate maintenance: dead-heading, cutting back, dividing plants, refreshing soil. I have a note in my calendar every March and September for pollinator bed care.
Pros:
- Keeps your layout healthy and looking its best.
- Helps ensure pollinator resources stay strong through the seasons.
- Encourages proactive care so your design evolves, not decays.
Cons:
- Requires time and attention (even if less than a high-maintenance beds).
- If ignored, your lush layout can become overgrown and less functional for pollinators.
Takeaway: Build your pollinator garden layout and schedule its care. A little planning prevents it from becoming an ecological afterthought.
15. Monitoring, Feedback & Evolution of Layout
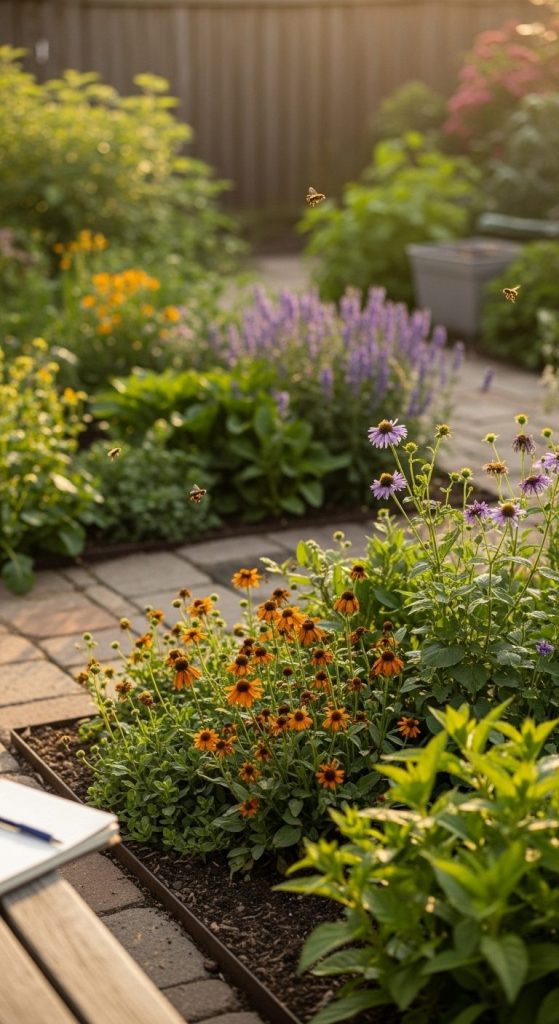
Here’s one many skip: watching what happens and updating. I walk my pollinator garden layout each month with a notebook. What’s blooming? What bugs are showing up? What looks tired? You’ll want your layout to evolve.
Pros:
- Empowers you to learn and refine what works in your space.
- Helps you spot problems early (e.g., plants not attracting insects, invasive weeds).
- Keeps your garden layout relevant year after year.
Cons:
- Involves some effort of observation and adjustment.
- You might feel frustrated if changes take time to pay off.
Takeaway: A great pollinator garden layout isn’t static. It shifts with the seasons, the insect population and you. Watch it, listen to it and let it grow.
Conclusion
By now, you’ve walked through 15 different ideas—from curves and clusters to water features, vertical layers and maintenance rhythms—for designing a pollinator garden layout that feels alive, intentional and full of life. The best layouts don’t just plant flowers; they invite pollinators, connect habitat, and let space and time work together.
Personally, my favourite part of this project wasn’t the first bloom—it was the day I saw a hoverfly I’d never noticed before hovering over one of my native plants. That small moment made all the planning worthwhile.
So pick one idea that speaks to you today. Whether that’s adding a path, creating a sunny patch, or including a log-pile for nesting, start there. Your garden layout will evolve—and so will the buzzing visitors it draws. Let’s build something beautiful and buzzing.

William Martin is a passionate bowler who spends most of his weekends playing the sport. With years of intense experience under his belt, William decided to share his knowledge by creating BOWLING OCEAN. Join me on this journey to explore the world of bowling and discover the tips and tricks to becoming a pro.

