How to Build a Bowling Lane in Your Basement? Easy DIY
Bowling for some people is just a pastime activity, but it is a passion for some. Being a bowling enthusiast, I know your pain when you want to play but have limited time in a bowling alley. What if I tell you there is a way to spend one time and enjoy bowling as long as you want and whenever you want?
Build a bowling lane of your own. Your next question will be about building a bowling lane in your basement. Installing a bowling lane in your basement is easy with the correct dimensions and budget-friendly equipment. It will save you massive money from visiting bowling lanes.
Today I will help you how to build a bowling lane in your basement with budget-friendly materials, the correct dimensions, and a proper layout.
DIY Home Bowling Alley
Building your bowling alley can be challenging, but the process will capture your interest once you start, and your home-build bowling facility is different. Check out other DIY projects on how to bake a bowling ball.
1. Assess You Basement Space and Budget

Before you start, you need to get a clear view of the available space and set an appropriate budget. You will need a space minimum of building two alleys in your bowling setup. Then it will require you 800-1400 sq. ft. The length should be 80-100 feet and width 10-14 feet wide.
Make sure that your basement has available space for these dimensions. If the basement is too large, measure out and do markings to set aside the needed space.
Create a budget list for the equipment you need. Compare equipment prices from different sellers and choose the one with the best quality and appropriate budget.
2. Design Bowling Lane Layout
The next step in the DIY bowling alley process is designing the layout. Consider factor as length, area, lane length, width, and the location of the pin deck. Also, identify the space and place for the pinsetters, scoring equipment, and spectator seating.
You can do it independently, but if you want it done correctly, ask a professional’s help to get a blueprint. Remember that it will cost you extra than your planned budget.
3. Gather the Materials and Equipment

Make a list of all the materials before purchasing to clarify everything you need. It is also crucial for estimating, budgeting, and comparing different pricing options.
- Lane Boards: You will need a lane board; see the panels made with good quality wood to last longer. These boards are essential for the firm base of your bowling alley.
- Pin Deck: The pin deck is a part where pins are set. It is also made of wood but is different from the lane board.
- Gutters: Gutters are longitudinal boundaries that shape out a lane. It divides two lanes or prevents side areas from damage through balls.
- Pinsetters: This equipment automatically sets the pin again after a turn or when the frame is complete. Search out for best sellers and see what fits your budget.
- Bowling Pins and Balls: It is the foremost important piece of equipment. Buy an ideal set of pins and balls according to your lane conditions.
- Scoring System: You need to get a digital scoring system displaying the player’s score automatically. So, the game would be more professional and exciting even at home.
- Prepare The Surface
Your basement surface should be cleaned before setting up the equipment or bowling layout. Observe if there is some unlevelled or unbalanced surface, and even it out.
Remove dirt, debris, or any material that will uneven lane boards. The bowling lane is heavy, so the surface should be strong enough to bear the weight.
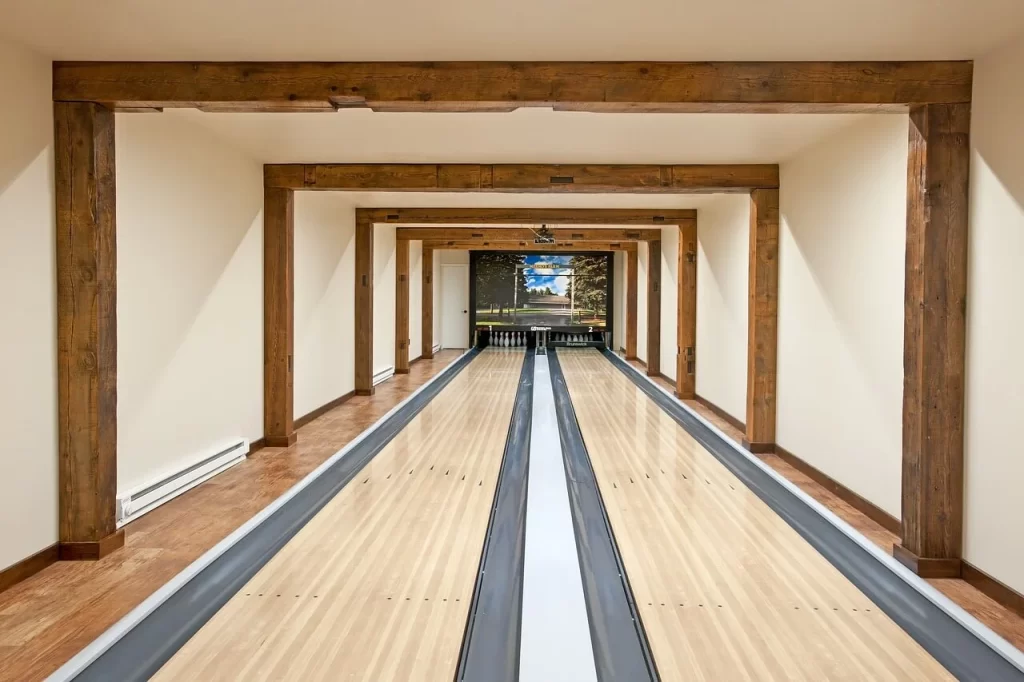
4. Lay the Lane Boards
Your first step is to lay the lanes; the lanes must be straight and even. Use a measuring tape of the leveler to see that the lane is equally balanced. Secure it in place with nails and screws as guided in the manual. Smooth and flat lanes are necessary to provide your ball with a smooth rollout.
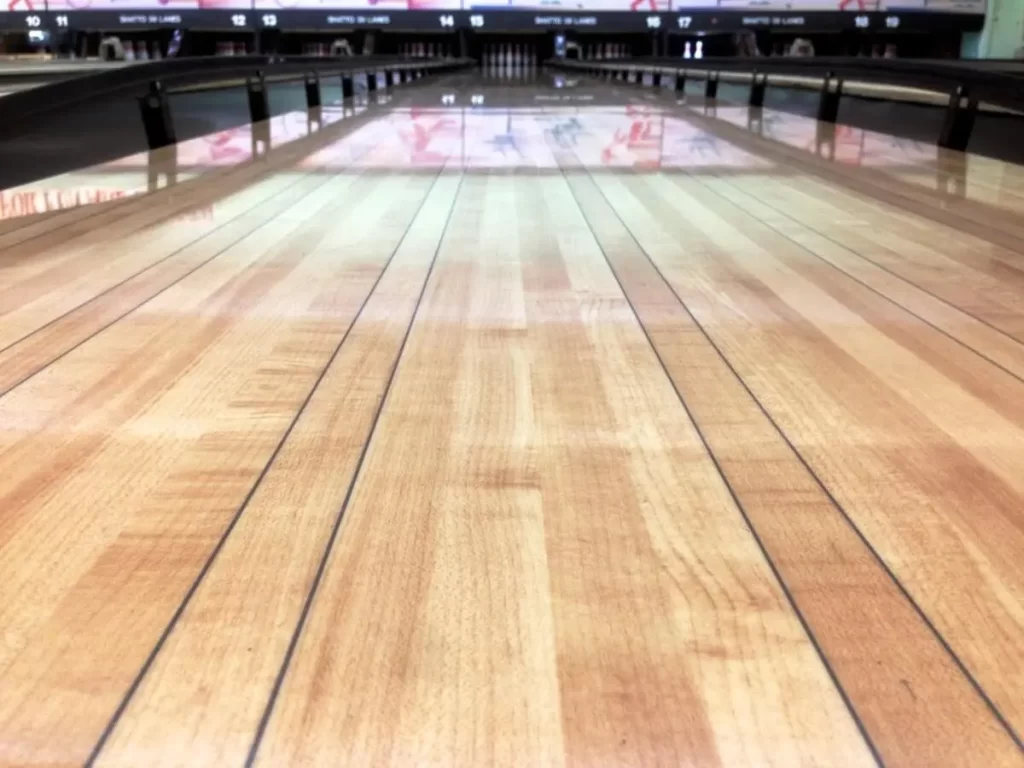
5. Place Pin Decks and Gutters

As you know, the pin deck is at the rear end of the lane board, so place it there and fix it with screws to ensure it is stable enough to bear the weight of pins standing and the impact of falling.
Install the gutters in a fit manner with the lane board. They fit so well that no bare space must be left between them. Chooses gutters with an appropriate height.
Install the Pinsetters and Scoring System
Now setting the pin setters can be tricky. You will need to do some wiring for the pin setter and scoreboard. It is easy if you follow step-wise instructions in the manual. Test the setter and see if all pins must be revived in the same position after falling. Also, check the calibration of the scoreboard and its proper functioning.
6. Finishing Touches
Look for uneven lane surfaces; if you suspect any, then smooth it with the help of sandpaper. Oiling is a must; use a lane board oil or polish to lubricate the surface of lanes. Oil pattern plays a vital role in the ball rolling off. You can use this process if you have short space and make a homemade mini bowling alley.
Paint the necessary points or label where it is needed. You can also place a neon name board to give your bowling area a name. Adding decorations and other equipment, like bowling racks, seating, etc., is your call. Go for learning how to practice bowling at home and strengthen your game.
Wrap Up
Now you are an expert in building a bowling lane in your basement. It starts with measuring proper dimensions and making a budget and needed equipment list. Lay down the lane boards, set the pin decks, fix the gutters, and install the pin setter and scoring board. Voila! You will get a bowling alley of your own under a reasonable investment that will go for a long time.
I hope you’ve found this process easy to follow. If you have any queries, you can always go to comment sections.
FAQs

Ashley Ellison is a skilled writer and avid bowler. Her passion for storytelling and dedication to the sport have led her to participate in various national bowling leagues. With a unique combination of talents, Ashley approaches every challenge with creativity and a relentless drive to succeed.