15+ Creative Bowling Ball Ladybug Ideas to Brighten Your Yard
Have you ever looked at an old bowling ball and thought, “I could turn that into something fun”? If not, you’re about to! A bowling ball ladybug is a creative and budget-friendly way to add charm to your garden. This DIY project is easy to make, perfect for all ages, and gives new life to something most people throw away. In this guide, we’ll walk you through everything—from materials to fun variations—so you can create your very own ladybug friend for the yard.
What Is a Bowling Ball Ladybug?
A bowling ball ladybug is a type of painted bowling ball yard art that transforms an old bowling ball into a colorful ladybug. It’s one of the most loved bowling ball crafts because it’s simple, weather-resistant, and adds a touch of fun to gardens, porches, and patios. With just a little paint and creativity, you can turn an ordinary item into a beautiful piece of bowling ball art.
Whether you’re a seasoned DIYer or just looking for something fun to do with your kids, a ladybug bowling ball is the perfect project.
Materials You’ll Need
Before you start, gather the following materials:
- An old bowling ball (you can often find these at thrift stores)
- Red spray paint or red outdoor acrylic paint
- Black paint for the head and spots
- White paint for the eyes
- Small paintbrushes or sponges
- Clear weatherproof sealant
- Optional: googly eyes, pipe cleaners for antennae, and strong glue
All of these items are easy to find and budget-friendly, making this one of the easiest and most affordable bowling ball crafts you can do.
Creative Variations
Want to make your bowling ball ladybug even more unique? Here are some fun and creative variations to try:
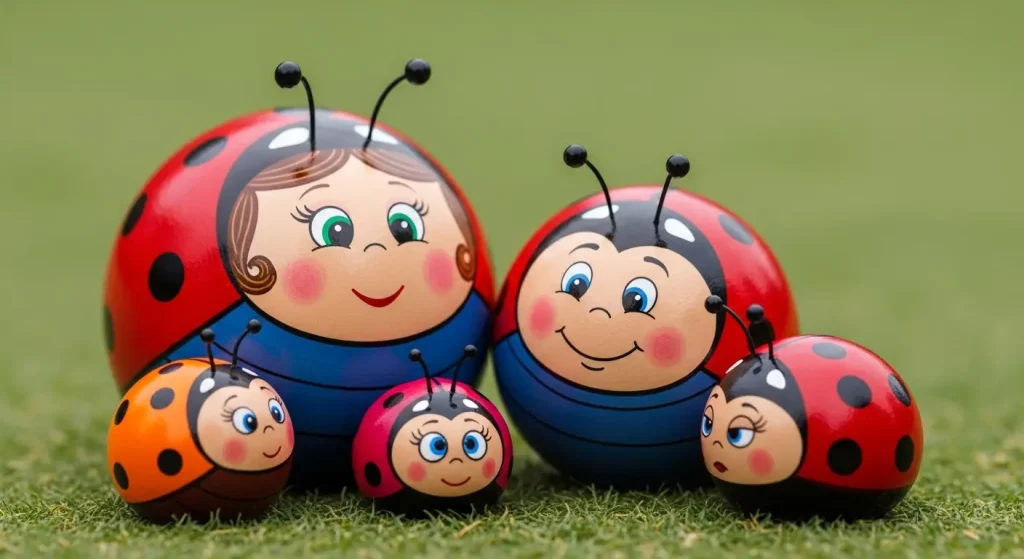
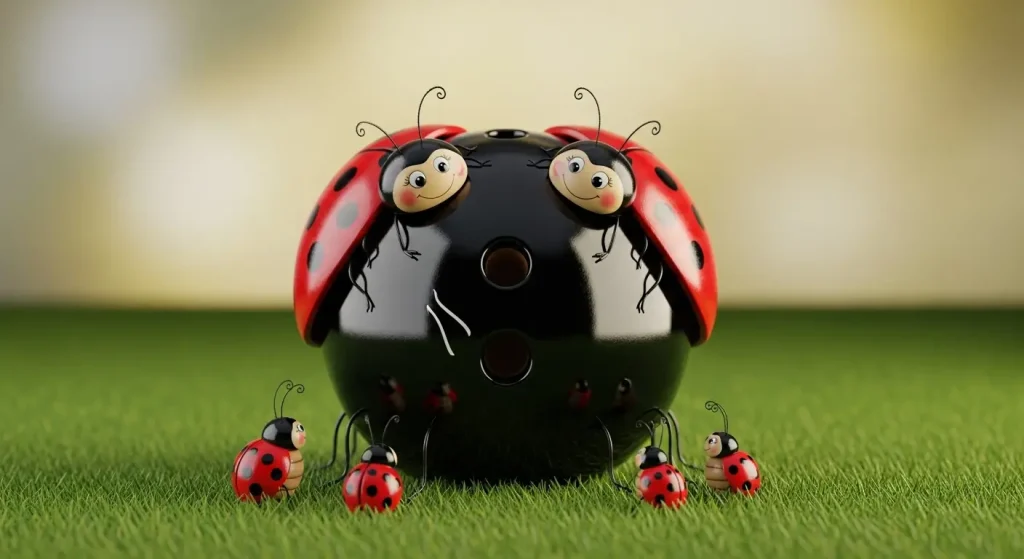
1. Ladybug Family
Create a whole family using different-sized balls—like smaller ones for baby ladybugs. Paint each one with slightly different expressions or designs to give them personality.
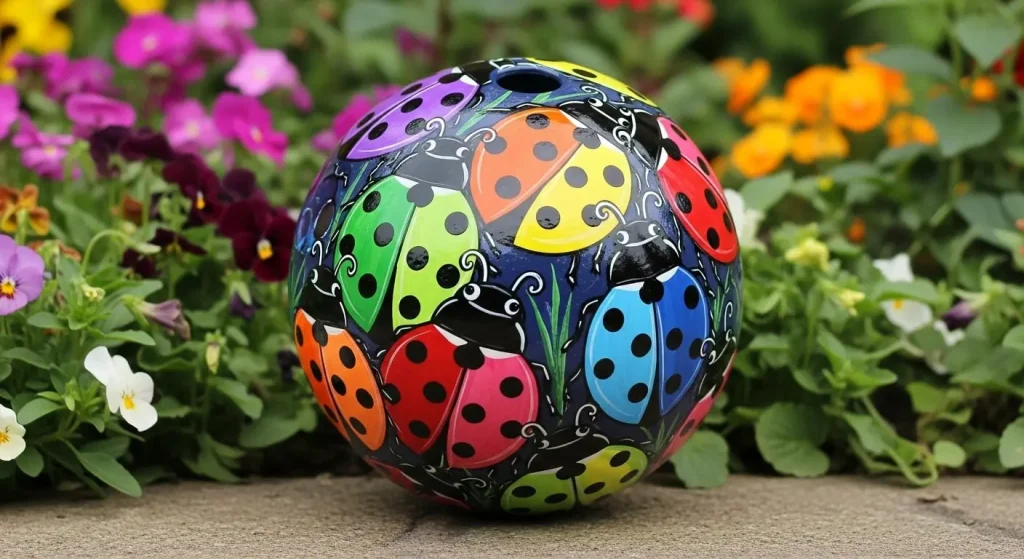
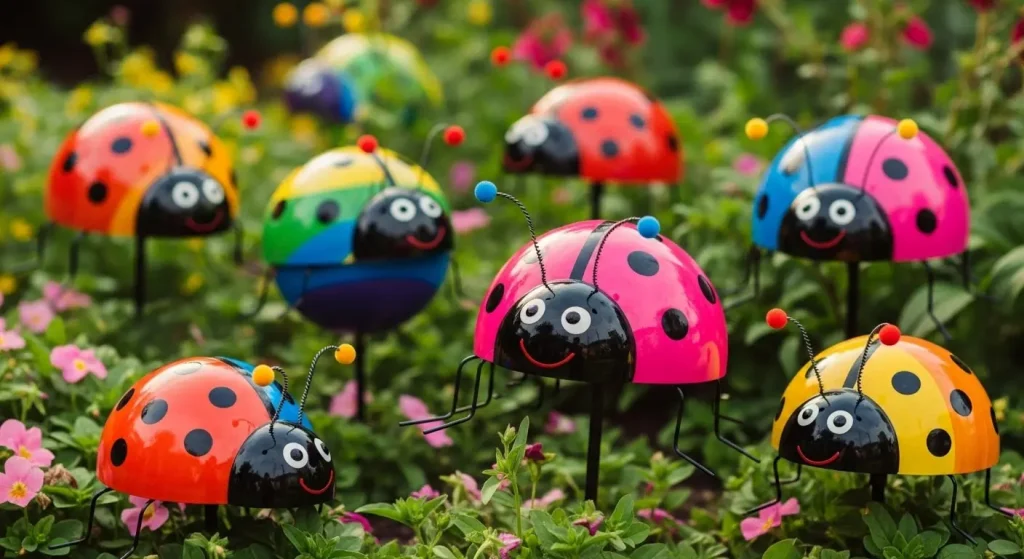
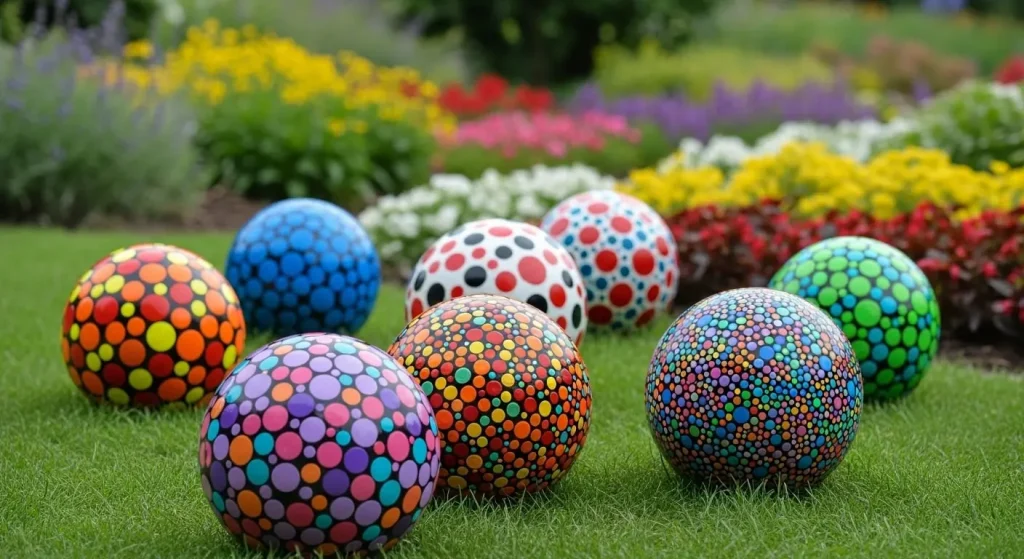
2. Rainbow Ladybugs
Who says ladybugs have to be red? Try blue, purple, yellow, or even neon colors. Keep the black spots and eyes for contrast. This twist adds extra color to your yard art.
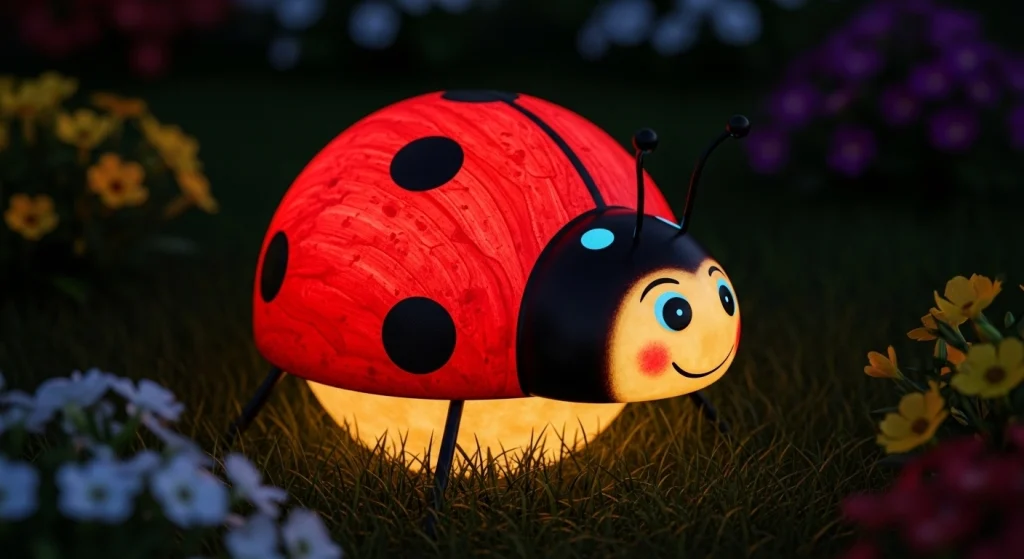
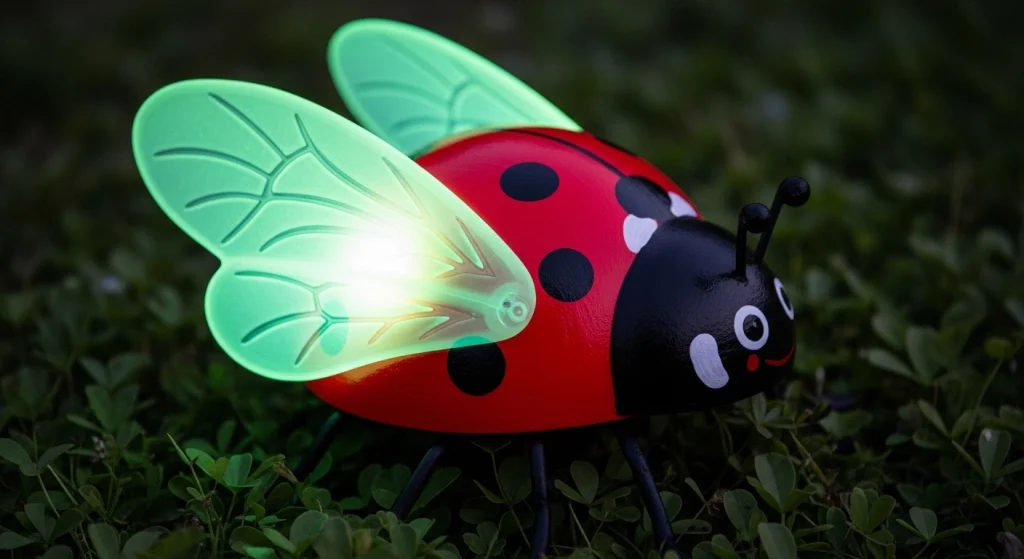
3. Glow-in-the-Dark Ladybug
Use glow-in-the-dark paint or topcoat so your ladybug lights up at night. It’s perfect for creating a magical evening garden.
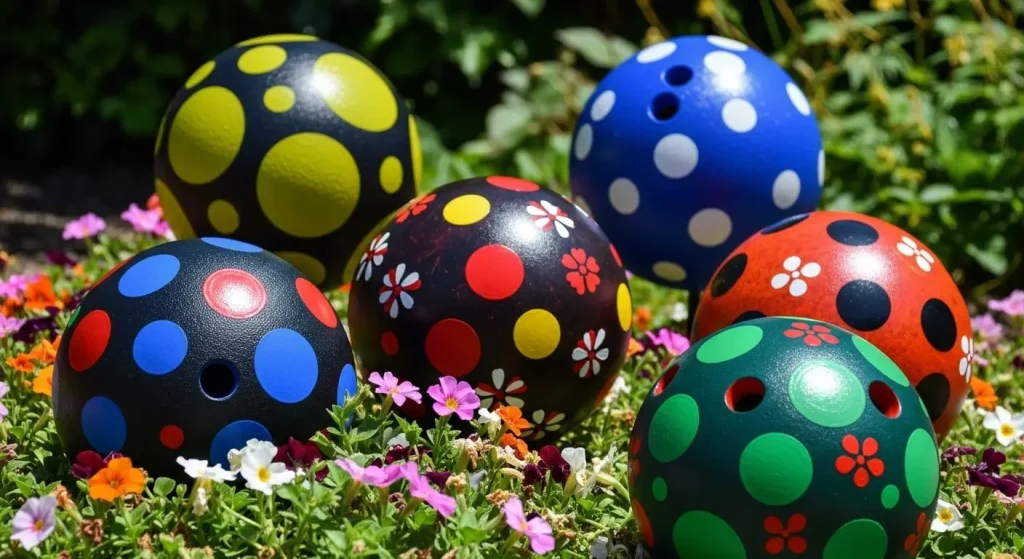
4. Polka-Dot Patterns with a Twist
Instead of regular black dots, try painting shapes like stars, hearts, or flowers. This is great if you’re doing this as a kids’ craft or just want something different.
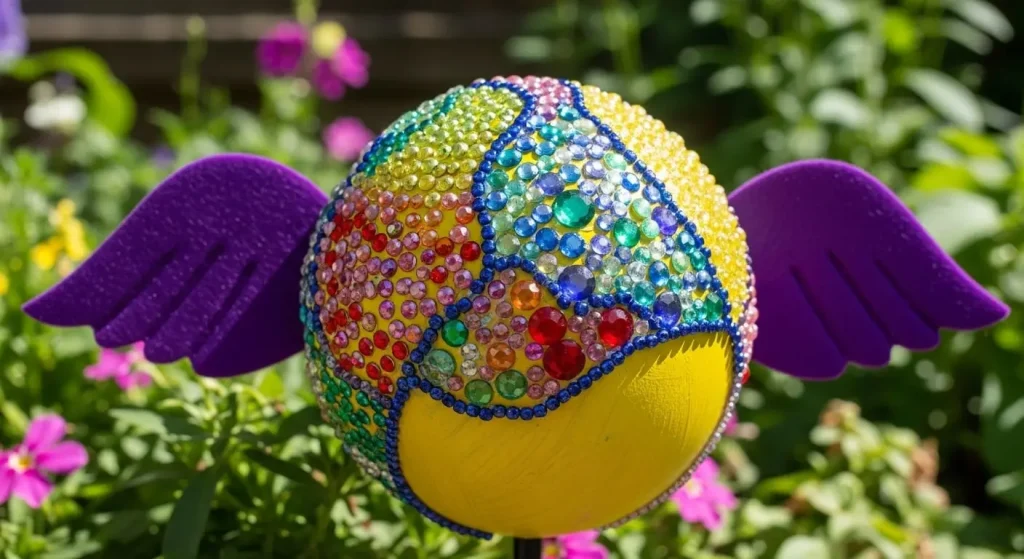
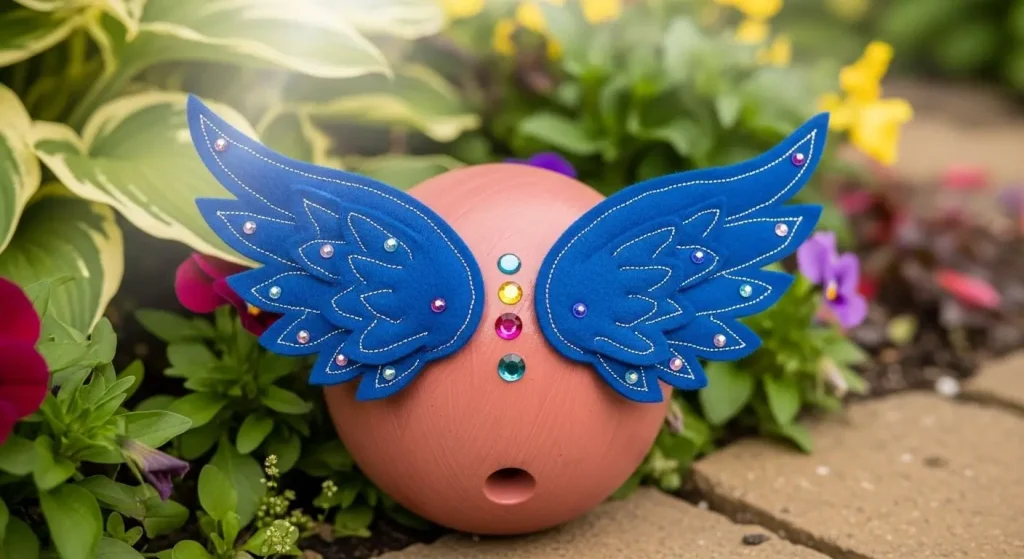
5. Add Textures
Glue on felt wings, beads, or small gems. These extra textures give your bowling ball art a handcrafted look and feel.
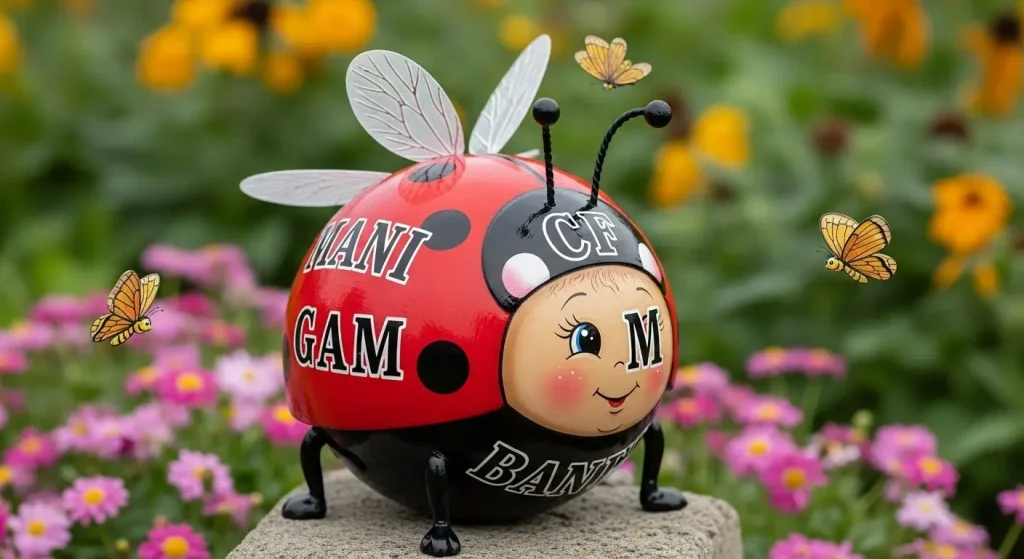
6. Personalized Ladybugs
Write names, initials, or messages on your ladybug. This is a fun way to turn your bowling ball ladybug into a thoughtful gift.

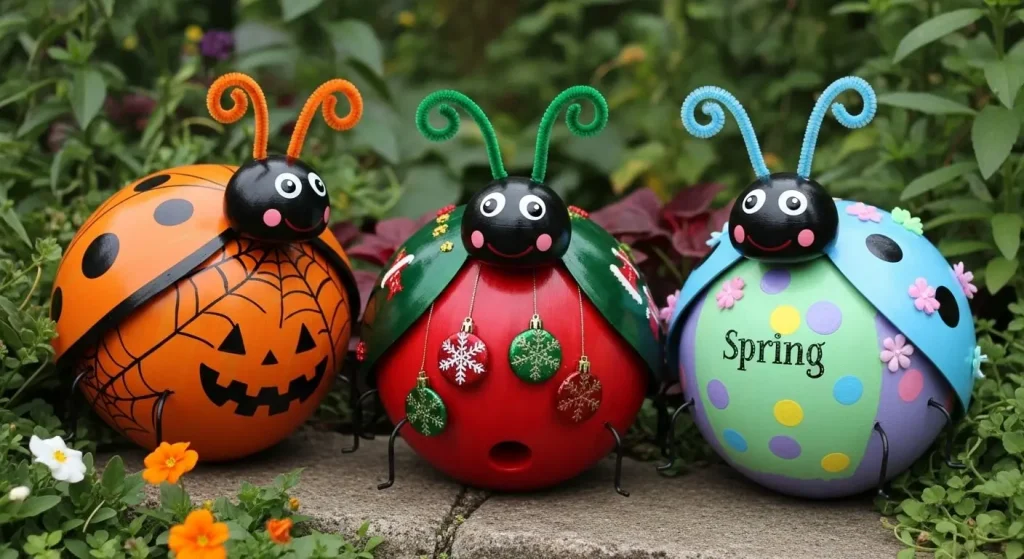
7. Seasonal Ladybugs
Decorate your ladybug to match the season—orange and black for Halloween, red and green for Christmas, or pastel colors for spring. Add mini props like hats or flags for extra flair.

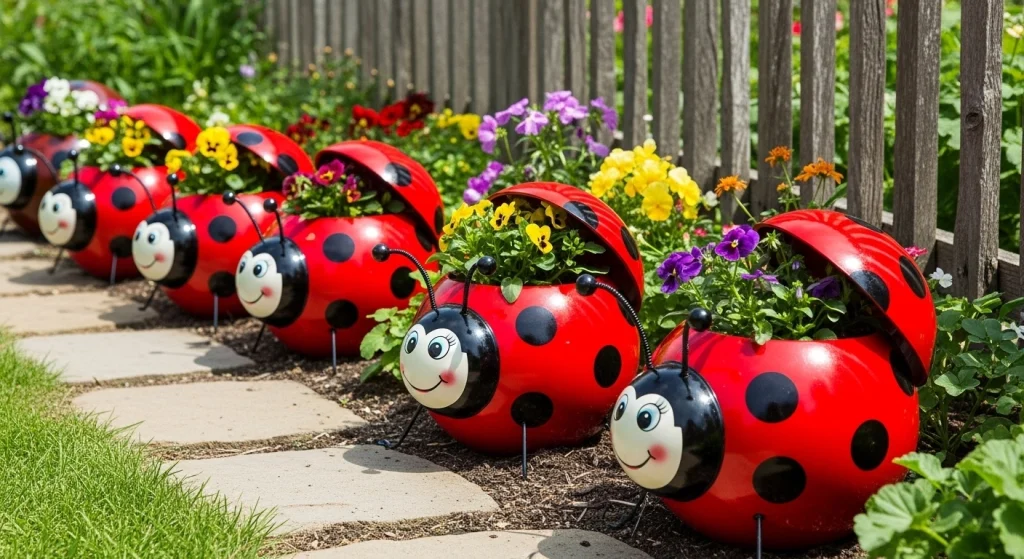
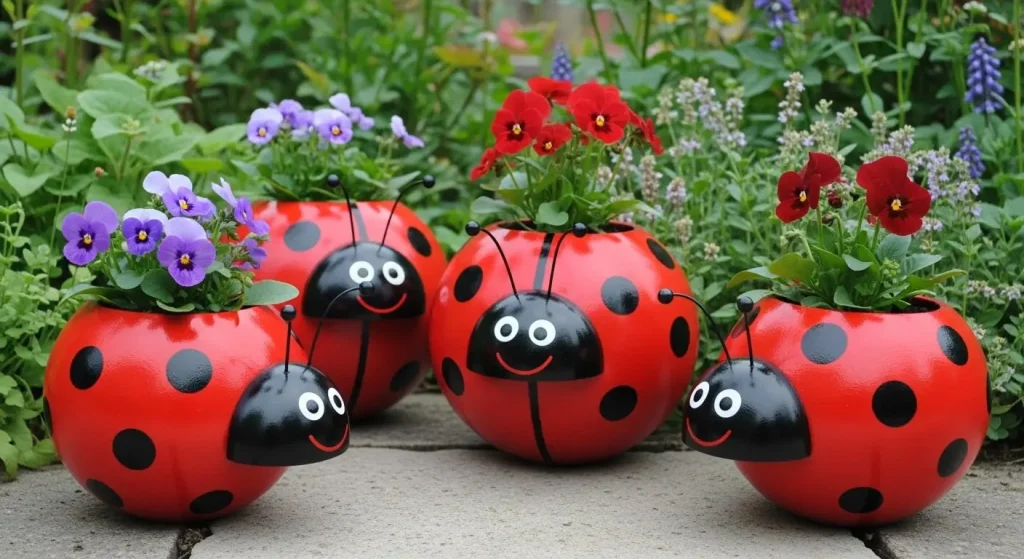
8. Ladybug Planters
If you’re handy, carefully carve out a small section on top of the ball and use it to hold a tiny plant or succulent. This turns your ladybug ball into both a decoration and a mini planter.
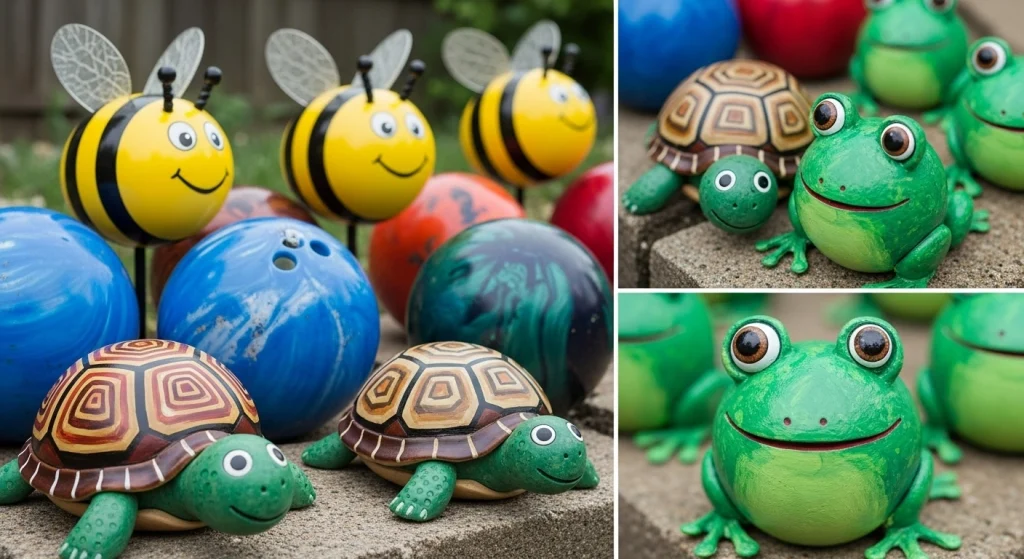
9. Mixed Bug Collection
Don’t stop at ladybugs! Turn other old balls into bees, turtles, or frogs. This way, your yard can be filled with a whole collection of colorful art.
Step-by-Step Instructions
Let’s break it down step by step so you can enjoy the process and end up with a fantastic bowling ball ladybug.
1. Clean the Bowling Ball
First, wash the bowling ball with warm soapy water to remove dirt, grease, or oils. Let it dry completely before painting.
2. Paint the Ball Red
Use red spray paint or acrylic paint to cover the entire surface of the ball. You may need two coats to get full coverage. Make sure to let each coat dry before adding the next one.
3. Add the Black Details
Paint a semicircle for the head at one end of the ball. Then, draw a line down the center of the ball to separate the ladybug’s wings. Add black spots on each side. These steps are what turn your bowling ball into a true ladybug bowling ball!
4. Paint or Add Eyes
Use white paint to create eyes, or glue on googly eyes for a fun touch. Place them right on the black head you painted earlier.
5. Add Antennae (Optional)
For a cute finish, glue pipe cleaners or small wires on top of the head as antennae.
6. Seal the Paint
Once your paint is fully dry, spray or brush on a clear weatherproof sealant. This protects your bowling ball ladybug from sun, rain, and snow.
Where to Place Your Bowling Ball Ladybug
Now that your ladybug is ready, it’s time to show it off. Here are some great places to set your new garden buddy:
- In flower beds – It adds a fun pop of color among your plants.
- By your front door – Welcome guests with a cheerful bowling ball ladybug.
- On the patio – Use it as part of your painted bowling ball yard art display.
- Next to pathways – Let it peek out from behind bushes as a surprise for passersby.
- In a fairy garden – A mini ladybug fits perfectly in a magical setting.
- As a gift – Handmade ball crafts make thoughtful and creative presents.
Final Thoughts
A bowling ball ladybug is more than just a garden decoration—it’s a fun project that brings joy, color, and creativity into your space. With just a few supplies and a little time, you can turn something old into a beautiful piece of bowling ball . Plus, it’s a perfect weekend craft for families, kids, or anyone who loves DIY.
So why not give it a try? Dig out that old bowling ball, grab some paint, and let your imagination do the rest. Your garden (and maybe even your neighbors) will thank you!

William Martin is a passionate bowler who spends most of his weekends playing the sport. With years of intense experience under his belt, William decided to share his knowledge by creating BOWLING OCEAN. Join me on this journey to explore the world of bowling and discover the tips and tricks to becoming a pro.