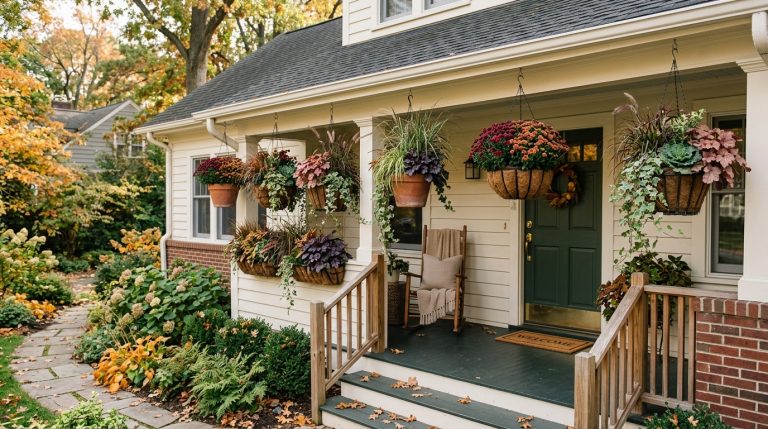
15 Caramel Apple Bar Ideas for Fall Parties
There is something about caramel apples that makes people stop acting like sensible adults around dessert. Put a bowl of crisp apples next to warm caramel and a few bowls of toppings, and suddenly everyone has a very strong opinion about whether crushed pretzels belong on an apple.
That is exactly why caramel apple bar ideas work so well for fall parties. Instead of serving one finished dessert to everyone, you let guests build their own combination. It becomes part dessert, part activity, and part conversation starter.
The trick is making the station easy to use. A good caramel apple bar needs a sensible flow, enough space for dipping, toppings that actually taste good together, and serving pieces that keep sticky fingers under control. Sliced apples can also make the experience much easier than asking everyone to wrestle with a giant whole caramel apple.
Here are fifteen distinct ways to take that basic idea and make it feel special without turning your dessert table into a chaotic pile of bowls.
1. Build a Classic Build-Your-Own Caramel Apple Bar
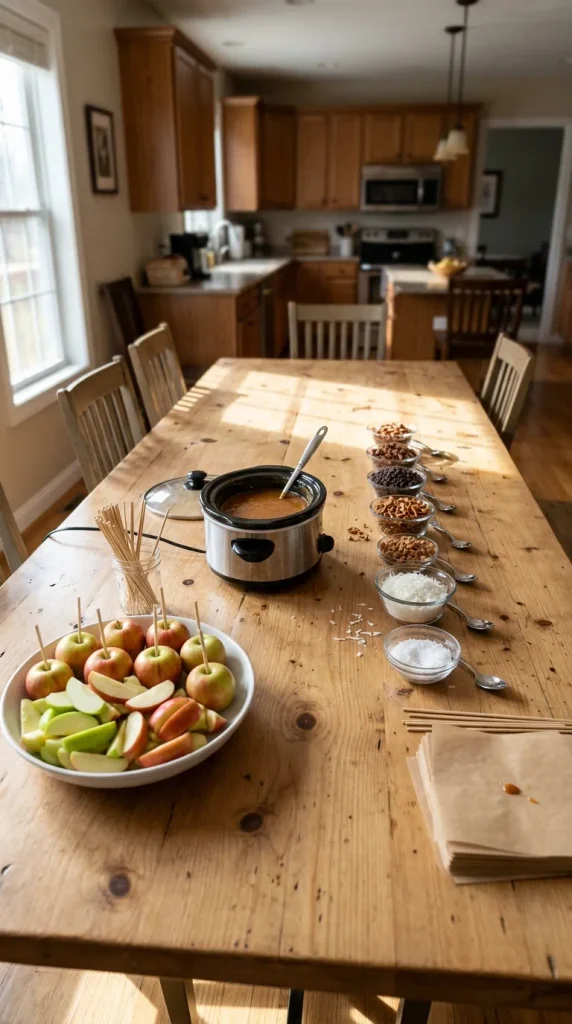
Sometimes the classic version wins for a reason. Arrange crisp apple slices or small whole apples at one end, warm caramel in the center, and toppings in a neat progression afterward.
For toppings, combine contrasting textures rather than buying every candy you can find. Chopped pecans, mini chocolate chips, crushed pretzels, toffee pieces, shredded coconut, and flaky salt give guests plenty of combinations.
Small spoons beside every topping bowl make the station cleaner and help reduce guests reaching into shared containers.
Leave a little breathing room between bowls. Caramel has a talent for traveling farther than expected.
A few things you might like
- Small glass topping bowls: Keep individual toppings visible and easy to reach.
- Mini serving spoons: Give every topping its own utensil for cleaner serving.
- Parchment dessert squares: Provide a simple landing spot for finished caramel apples.
2. Make a Caramel Apple Slices Bar
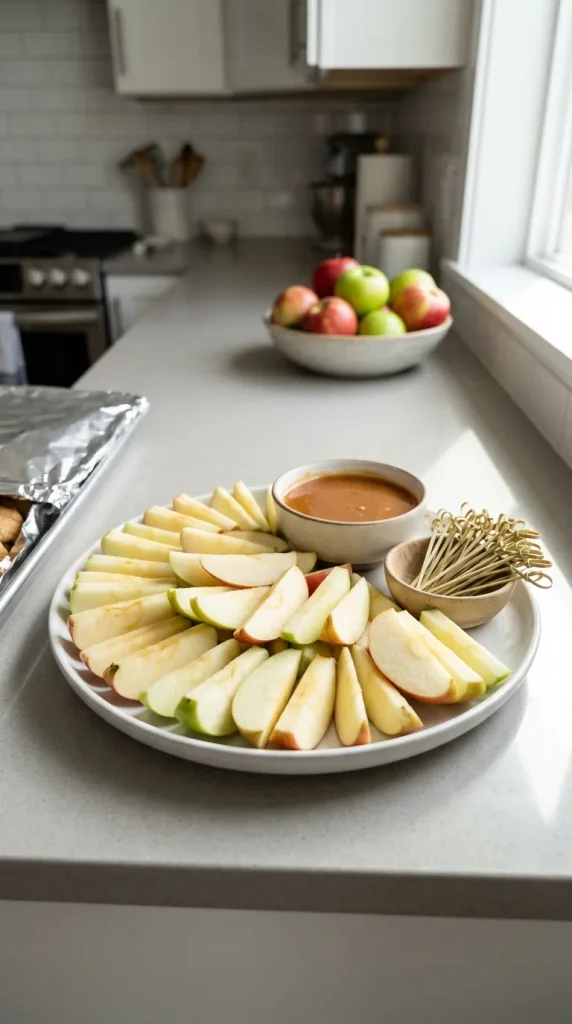
Whole caramel apples look wonderful, but they can become awkward at a party. A sliced-apple bar solves that problem and lets guests sample several combinations instead of committing to one enormous dessert.
Arrange apple wedges on a large platter with wooden picks nearby. Guests can dip or spoon caramel over individual pieces, then add toppings.
This format also works particularly well for showers, brunches, and mixed-age gatherings because people can take just one or two pieces.
Keep cut apples chilled until close to serving time, and prepare them as near to the event as practical to preserve texture and appearance.
Helpful additions
- Bamboo appetizer picks: Make individual apple pieces easier to handle.
- Large ceramic platter: Gives the sliced apples a clean centerpiece-style presentation.
- Covered food tray: Protects prepared apple pieces until guests arrive.
3. Create a Two-Sauce Caramel Apple Station
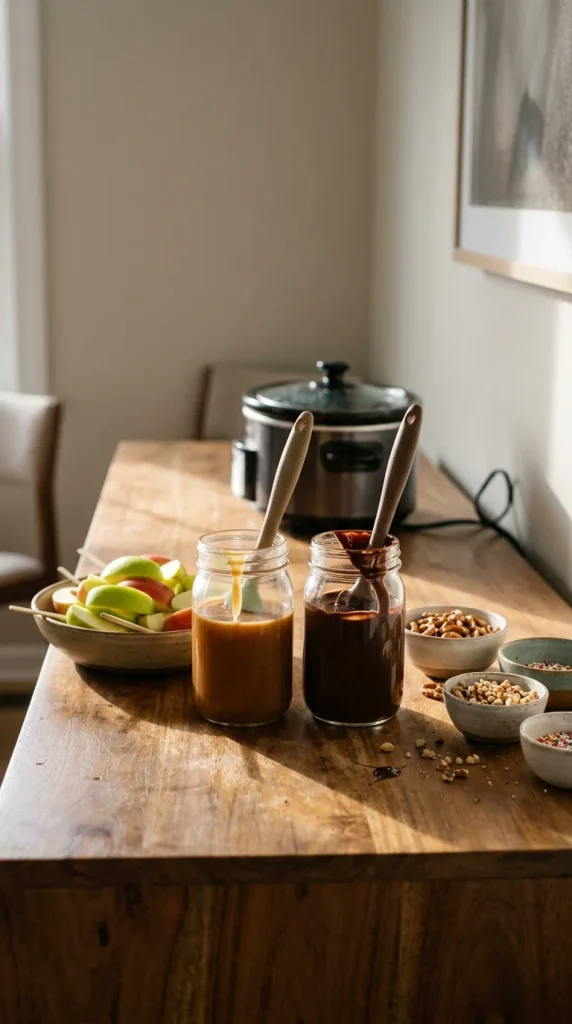
Why stop at caramel? Offer a second sauce so guests can create different flavor combinations.
Warm caramel and melted chocolate make an especially easy pairing. One gives the traditional buttery sweetness, while the other adds a deeper chocolate flavor.
Place the sauces side by side but give each its own serving utensil. Guests can choose caramel only, chocolate only, or both before adding toppings.
A water-bath setup can help keep sauces warm and workable during the party, but keep hot equipment away from children and high-traffic areas. Several current caramel apple guides recommend keeping dipping sauces warm because they thicken as they cool.
Possibly handy products
- Small slow cooker: Helps maintain a workable temperature for warm caramel.
- Heat-safe glass jars: Useful for separating different sauces.
- Silicone dipping spatulas: Make it easier to drizzle sauce without scraping delicate bowls.
4. Give the Bar a Salted-Caramel Theme
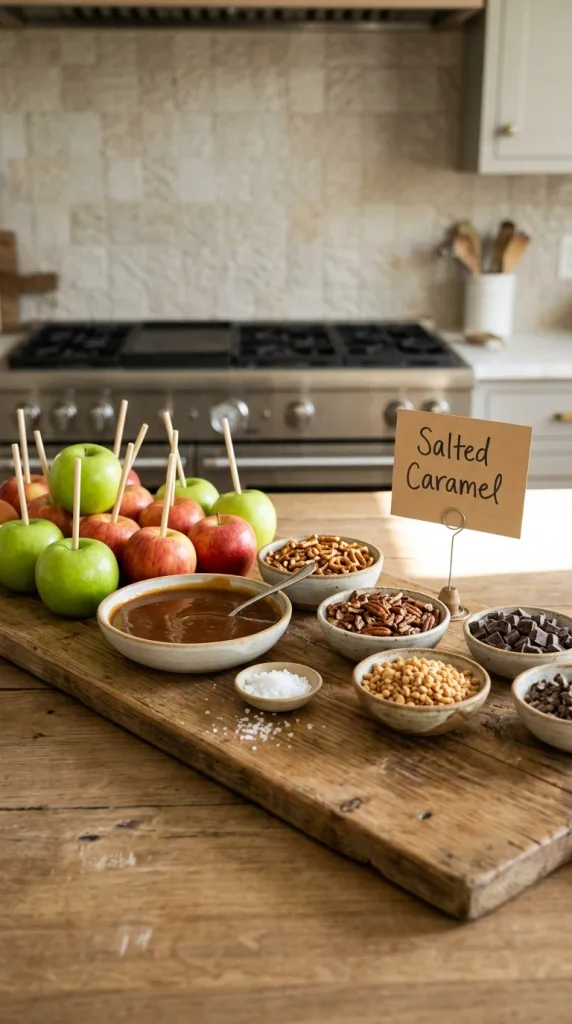
If you want something that feels a little more grown-up, build the entire station around sweet-and-salty flavors.
Start with caramel apples, then offer flaky sea salt, crushed pretzels, roasted pecans, toffee pieces, and dark chocolate.
The salt matters more than you might think. A small amount can balance the sweetness of caramel instead of making the dessert taste like one continuous sugar bomb.
Use neutral serving dishes and a simple kraft-paper sign so the toppings provide most of the visual interest.
Give these a look
- Flaky sea-salt dish: Lets guests add a controlled finishing touch.
- Wooden serving board: Gives the station a warm, understated foundation.
- Dark chocolate serving bowl: Creates contrast against pale caramel and bright apples.
5. Turn It Into a Caramel Apple Nacho Bar
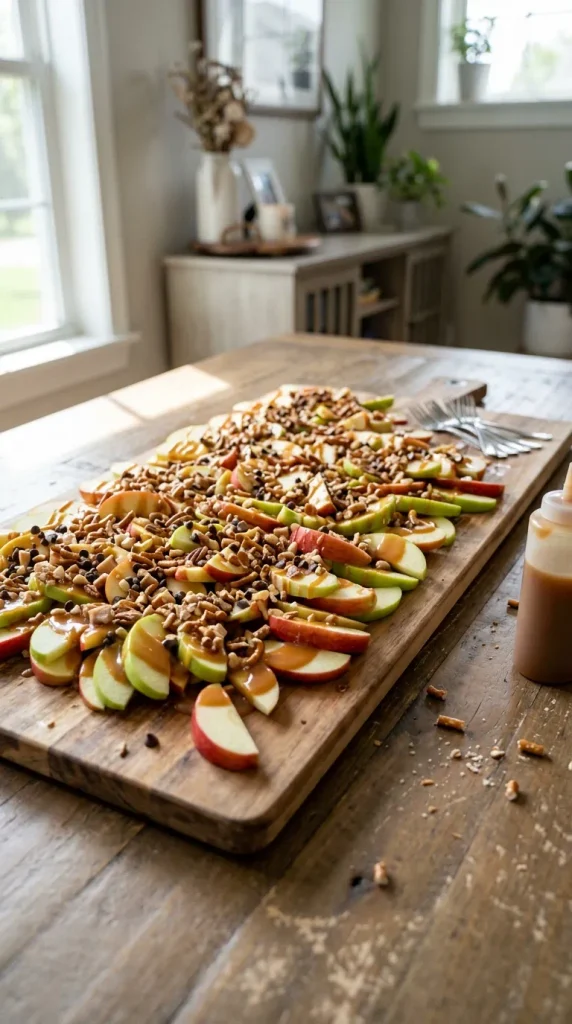
This one changes the format completely. Instead of dipping individual apple pieces, arrange apple slices across a large platter and let guests build a shared caramel-apple “nacho” plate.
Drizzle warm caramel across the apples, then scatter toppings such as chopped nuts, mini chocolate chips, crushed pretzels, and toffee.
You can make one large platter for a group or several smaller platters for different tables. The advantage is speed: guests don’t have to stand around a dipping bowl one at a time.
Serve it with small forks or dessert spoons so the platter stays reasonably civilized.
A few relevant products
- Large wooden serving board: Provides plenty of room for layered apple slices.
- Drizzle bottle: Helps distribute caramel more evenly than pouring directly from a bowl.
- Mini dessert forks: Make shared portions easier to pick up.
6. Design a Caramel Apple Flight
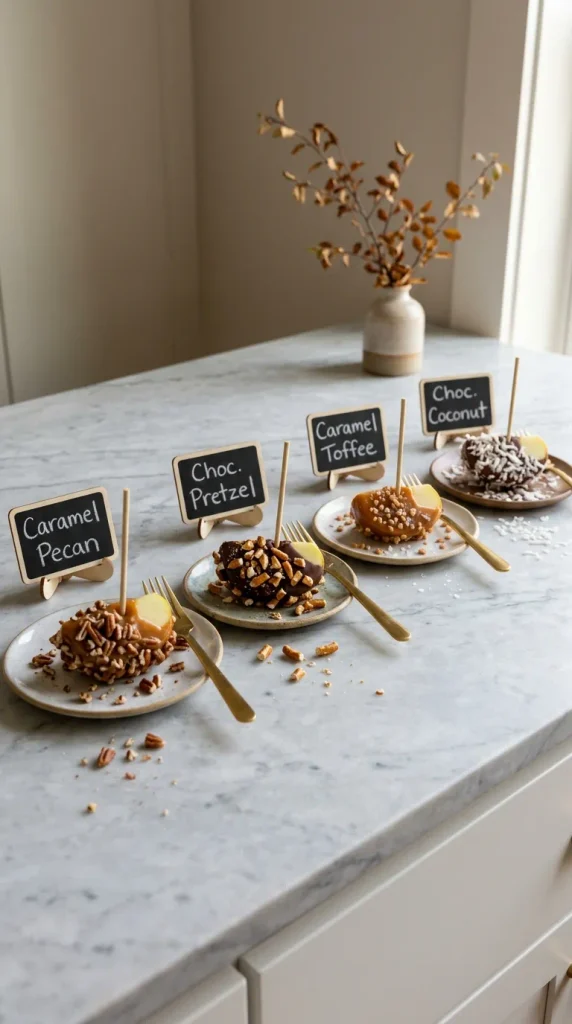
Think of this as the dessert equivalent of a tasting menu.
Prepare several small apple pieces and give guests three or four flavor combinations to sample. For example, one could feature caramel and pecans, another chocolate and pretzels, and another caramel, toffee, and sea salt.
Place each combination on its own small plate and label the flavor. Guests can compare them instead of building everything themselves.
This approach works particularly well when you want the caramel apple bar to feel polished rather than child-focused.
Nice finishing touches
- Mini tasting plates: Keep individual combinations separated.
- Small chalkboard labels: Identify each flavor without cluttering the table.
- Gold-tone dessert forks: Add a slightly more refined feel to the tasting setup.
7. Add a “Make Your Favorite Combination” Recipe Card
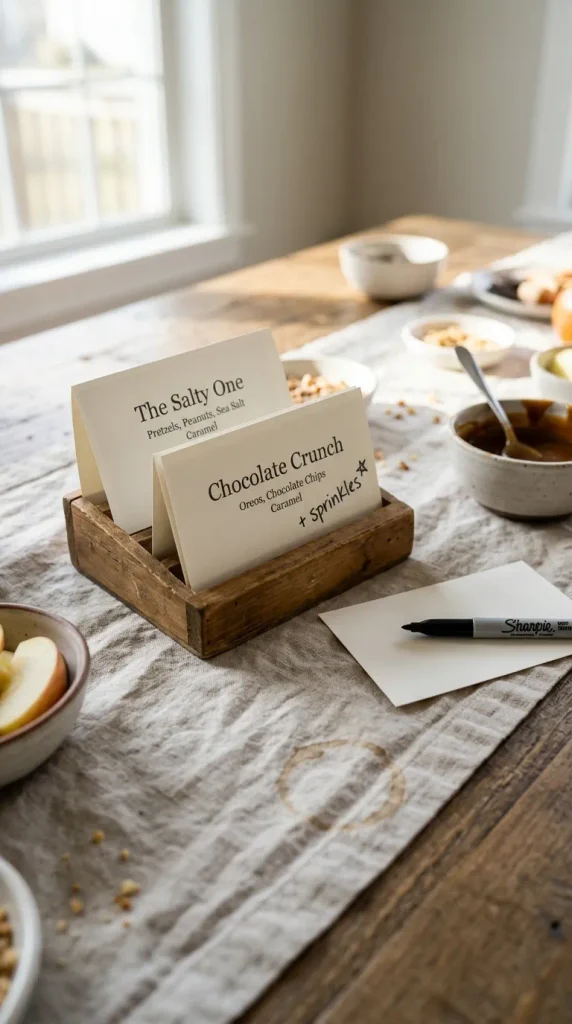
Give guests a little inspiration instead of expecting them to invent a dessert from scratch.
Create three or four simple combination cards such as “The Salty One,” “Chocolate Crunch,” or “Classic Caramel.” List two or three toppings beneath each name.
Then leave the rest of the topping selection open for experimentation. This works especially well at a family party because children can follow the cards while adults can improvise.
Keep the combinations simple. Five ingredients on one apple sounds fun until you’re standing there trying to fit all five onto a slippery apple slice.
Useful items to consider
- Small recipe-card holders: Keep flavor cards upright and readable.
- Tent-style printed cards: Give guests instructions without requiring a large sign.
- Fine-tip markers: Useful for adding handwritten flavor names or notes.
8. Use a Tiered Caramel Apple Display
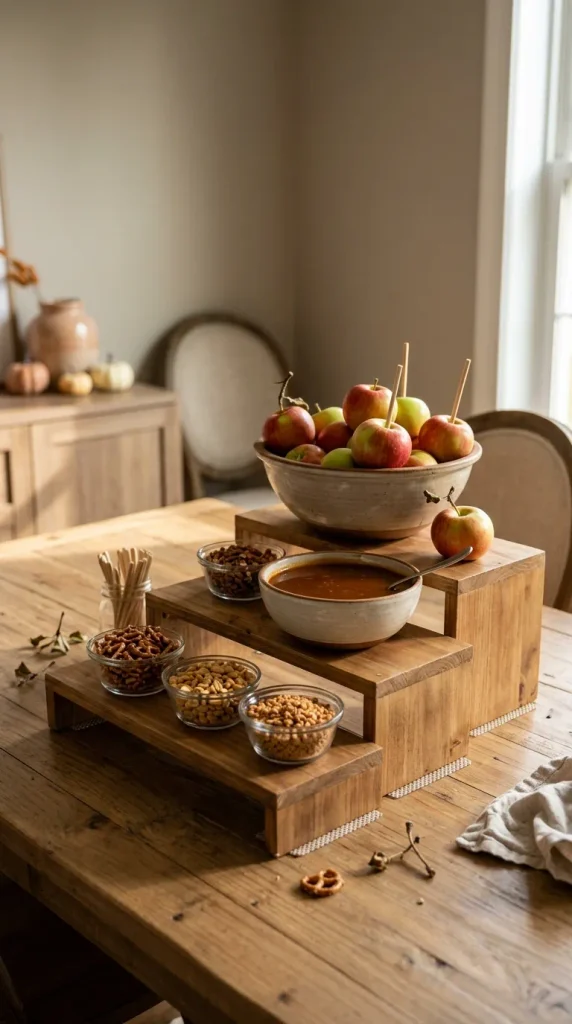
Instead of spreading everything across one flat table, create levels.
Put the apples on a raised platter at the back, caramel in the middle, and toppings across the front. This gives guests a natural visual path while making the station easier to scan.
Tiered displays also help when table space is limited. Just make sure the tallest pieces don’t block access to the sauces.
This arrangement works particularly well for an autumn dessert table where you want the caramel apple bar to function as part of the decoration.
Practical extras
- Wooden display risers: Create height without taking up much additional table space.
- Rotating cake stand: Makes it easier for guests to reach toppings around a compact display.
- Non-slip shelf liner: Keeps lightweight serving pieces steadier on raised surfaces.
9. Create a Mini Caramel Apple Bar for Children
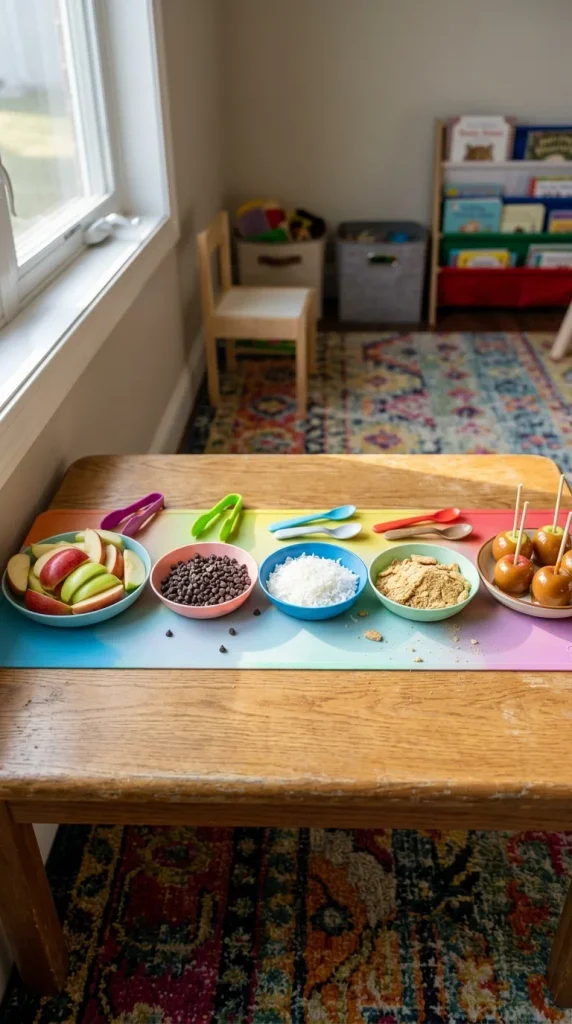
A child-friendly station should feel simpler, not merely smaller.
Use apple slices or small apple pieces, keep toppings in shallow containers, and let an adult handle warm caramel. Avoid large whole nuts for young children because they can pose a choking hazard.
You can also pre-dip some apples and let children decorate them after the caramel has cooled enough to handle safely.
Set the activity at a comfortable height and keep hot equipment completely out of reach. The caramel station should always have an adult in charge.
Possibly helpful picks
- Shallow plastic serving bowls: Make toppings easier for smaller hands to see.
- Washable placemats: Catch sprinkles and crumbs before they reach the table.
- Child-safe appetizer tongs: Give older children a cleaner way to pick up toppings.
10. Style an Elegant Caramel Apple Dessert Table
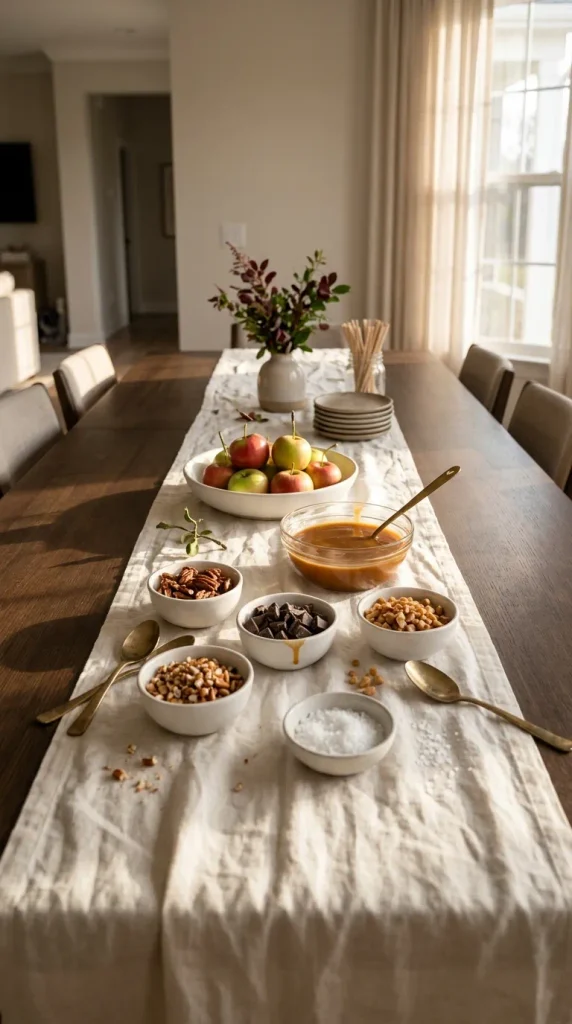
Caramel apple bars don’t have to look rustic or kid-oriented.
Use white ceramic dishes, clear glass bowls, neutral linens, and one restrained seasonal color such as burgundy or copper. Arrange the apples in a shallow bowl rather than a basket, and keep the toppings visually organized.
For an elegant event, fewer toppings often look better. Choose five or six excellent options instead of fifteen bowls competing for attention.
The dessert itself already provides plenty of seasonal character.
A few designer picks
- White ceramic serving bowls: Create a clean backdrop for colorful toppings.
- Linen table runner: Softens the display without competing with the food.
- Brass-tone serving spoons: Add subtle warmth to an otherwise neutral arrangement.
11. Make an Apple Orchard-Inspired Bar
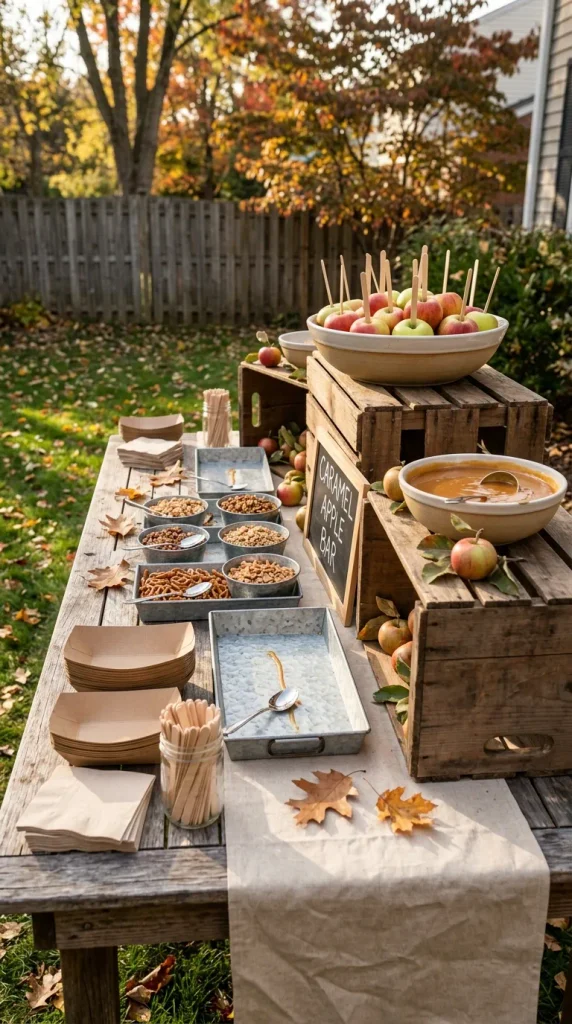
Lean into the apple theme rather than decorating with generic fall objects.
Use wooden crates as display risers, arrange fresh apples around the station, and add simple orchard-style signage. Keep the toppings in rustic ceramic or galvanized containers.
This works beautifully for backyard gatherings because the setup feels connected to the season rather than artificially themed.
Just don’t let decorative apples become confused with the apples guests should eat. Keep serving fruit clearly separated and ready to use.
A few complementary pieces
- Wooden apple crates: Add height and reinforce the orchard-inspired look.
- Galvanized metal trays: Work well with rustic fall styling and hold toppings securely.
- Canvas table runner: Adds texture without making the station visually busy.
12. Offer a “Crunch Bar” for Caramel Apples
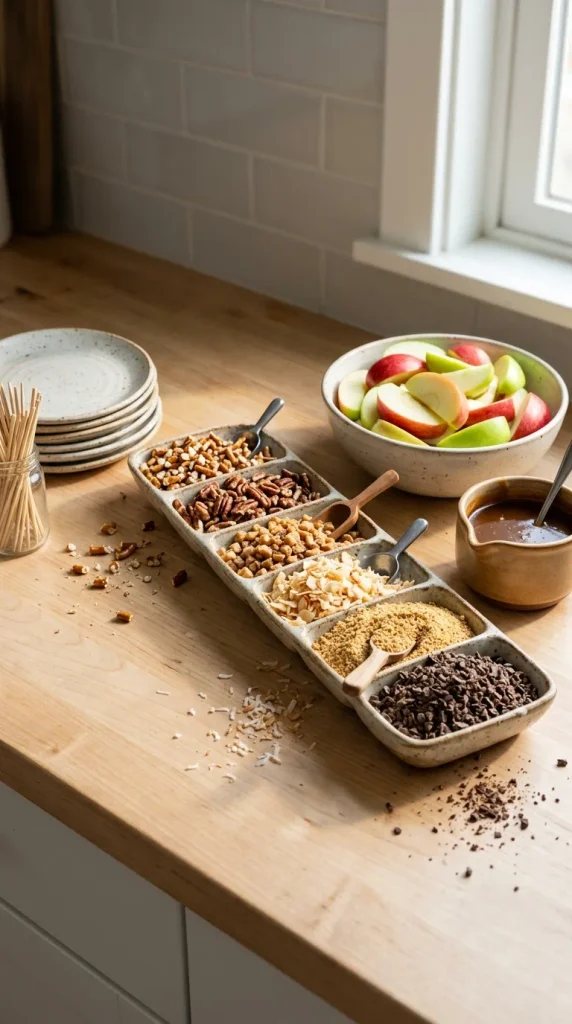
Make texture the star.
Instead of overwhelming guests with different sauces, provide a selection of crunchy toppings: crushed pretzels, toasted coconut, chopped pecans, graham-cracker crumbs, toffee, and finely chopped chocolate.
This idea works especially well with sliced apples because each piece can carry a different texture combination.
Place toppings in a logical order from larger pieces to finer crumbs. That little organizational trick makes the table easier to use and keeps tiny ingredients from getting everywhere.
Worth considering
- Compartment serving tray: Keeps multiple crunchy toppings separated.
- Small ingredient scoops: Make coarse toppings easier to portion.
- Wide-rimmed dessert plates: Give guests enough space to catch crumbs and drips.
13. Build a Caramel Apple Dessert Board
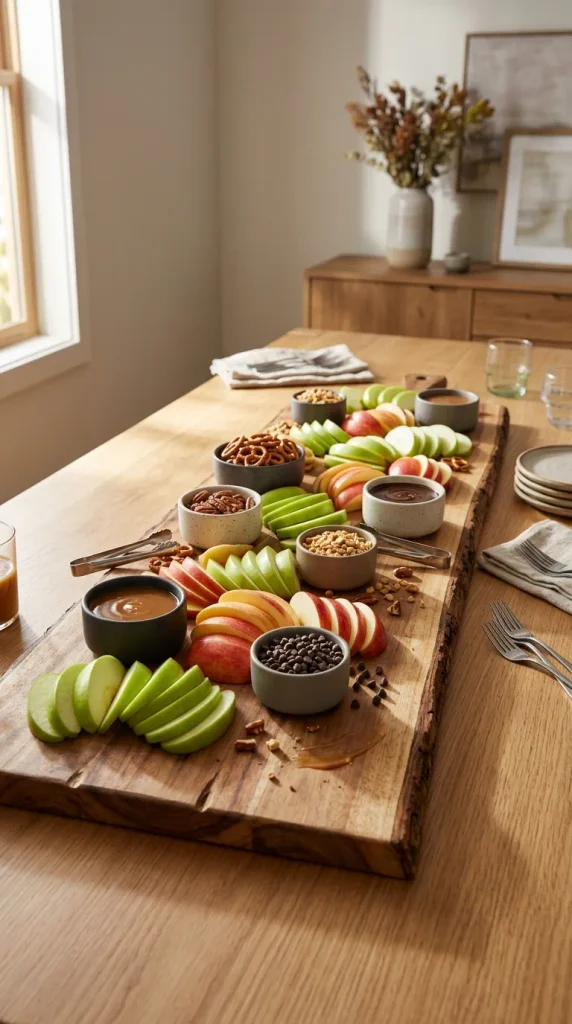
For a more decorative approach, skip the traditional straight-line bar and create a large grazing-style board.
Arrange apple slices in curved groups, then fill the empty spaces with bowls of caramel, chocolate, pretzels, nuts, and other toppings. The result feels abundant without requiring a huge amount of food.
Keep wet ingredients inside small bowls so caramel doesn’t run across the entire board.
This format works particularly well when you want guests to graze casually rather than queue at one central dipping station.
Helpful accessories
- Large acacia serving board: Provides enough surface area for a generous arrangement.
- Mini ceramic ramekins: Keep sauces contained and visually organized.
- Small stainless-steel tongs: Help guests pick up dry toppings hygienically.
14. Make Individual Caramel Apple Cups
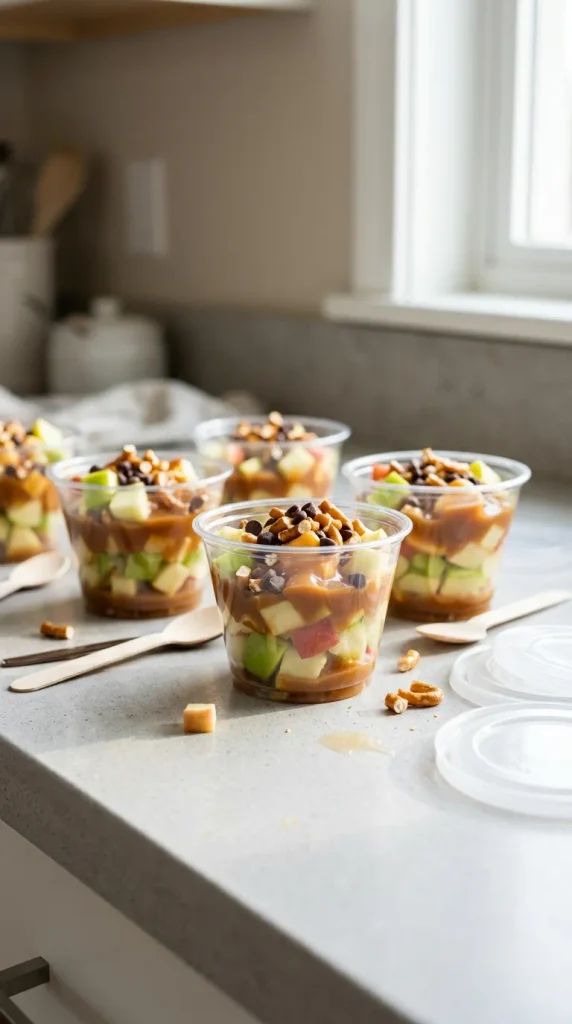
For parties where cleanliness matters, turn the concept into individual dessert cups.
Place apple pieces in small cups, then let guests add caramel and toppings. You can either have guests assemble them themselves or prepare a few combinations in advance.
This option works especially well for offices, showers, children’s parties, and events where guests move around instead of sitting at one table.
It also eliminates the awkward moment when someone realizes their caramel apple needs both hands and they are already holding a drink.
Useful items to consider
- Clear dessert cups: Show off the apple, caramel, and topping layers.
- Short dessert spoons: Make individual servings easy to eat while standing.
- Small disposable-lid containers: Useful when guests may want to take their dessert elsewhere.
15. Finish With a Take-Home Caramel Apple Station
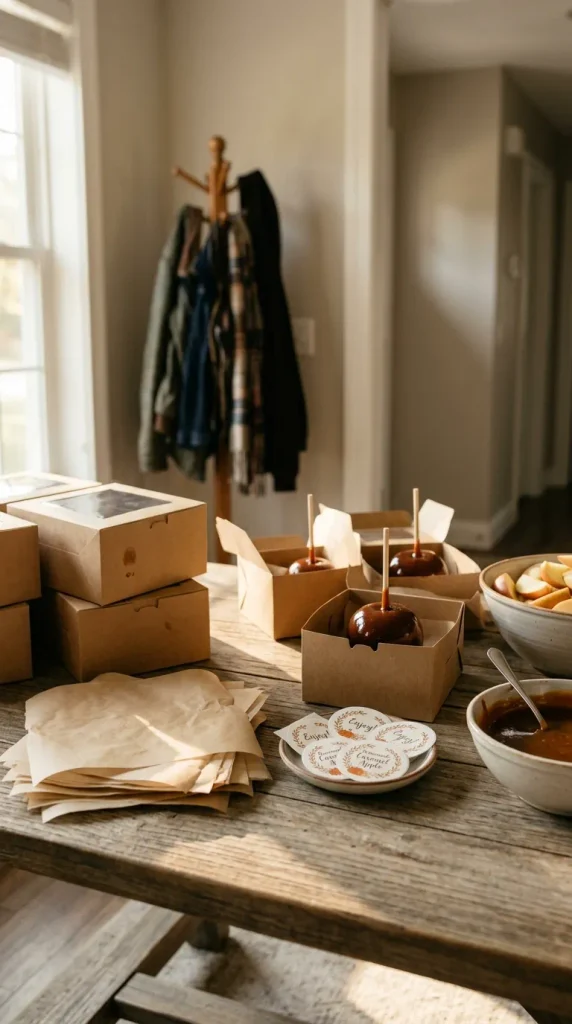
Let guests build an apple to enjoy later.
Set out individual parchment squares or small food-safe boxes beside the bar. After guests finish decorating their apples, they can place them in their own container.
This works particularly well when you want the dessert to double as a party favor. Just remember that caramel apples and sliced fruit need appropriate food handling and storage; don’t leave perishable prepared food sitting out indefinitely.
For an especially organized setup, label each container with a guest’s name.
A few practical extras
- Food-safe treat boxes: Keep finished caramel apples protected during transport.
- Parchment sheets: Prevent sticky caramel from attaching to packaging.
- Personalized adhesive labels: Turn a simple take-home dessert into a thoughtful party favor.
A Few Tips That Make Any Caramel Apple Bar Better
The prettiest setup in the world won’t help if guests can’t actually use it comfortably. Keep the basic flow simple:
That sequence keeps people moving naturally through the station. Current party guides also recommend giving each topping its own spoon and providing a designated place for finished apples.
A few other details make a noticeable difference:
- Dry apples thoroughly: Moisture can interfere with caramel adhering properly.
- Don’t overdo the toppings: Six to eight well-chosen choices usually create plenty of variety.
- Keep hot caramel controlled: Use suitable equipment and keep it away from children.
- Label allergens: Nuts and other common allergens deserve clear identification.
- Provide plenty of napkins: This is one dessert where nobody will complain about having too many.
- Give guests space: Don’t pack fifteen bowls onto a tiny side table.
The goal isn’t to create the biggest caramel apple bar possible. It’s to create one that people can actually enjoy.
Conclusion
The best caramel apple bar ideas turn a familiar fall treat into an experience. You can keep things classic with sliced apples and warm caramel, make the station elegant with neutral serving pieces, turn it into a tasting flight, create individual dessert cups, or let guests build take-home treats.
What I like most about the concept is how adaptable it feels. A backyard gathering can use wooden crates and orchard-inspired details, while a baby shower or dinner party can use ceramic dishes and restrained toppings. The underlying idea stays the same, but the presentation changes completely.
And honestly, you don’t need twenty toppings to make guests happy. A few crisp apples, good caramel, something chocolatey, something salty, something crunchy, and enough room to actually build the dessert will take you surprisingly far.
Pick the format that fits your party first. Then add the decorations around it. That approach keeps the caramel apple bar useful, attractive, and—most importantly—fun to eat.

William Martin is a passionate bowler who spends most of his weekends playing the sport. With years of intense experience under his belt, William decided to share his knowledge by creating BOWLING OCEAN. Join me on this journey to explore the world of bowling and discover the tips and tricks to becoming a pro.